
Clearing the Decks
I am ready to move forward. I am ready to make something new. I am ready, I am ready, I am ready, but the tiniest bindery in the world is buried deep in partially bound projects. I spend most of my time pushing components out of my way and setting important bits and pieces into piles or into drawers or into big plastic tubs. NO MORE. This week: Clearing the decks. Make room! Make room!
Fond (2012), edition of 75 copies
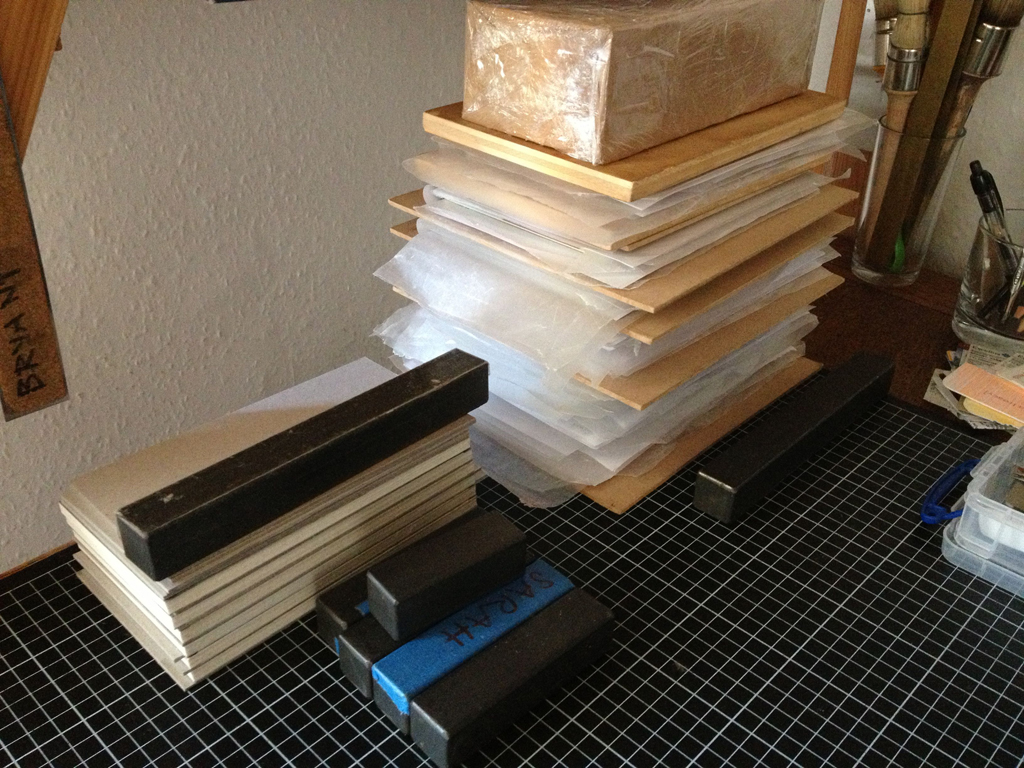
 As of last week: 49 copies bound, boxed, numbered and signed. The rest of the edition looked like this:

That is not an ideal state of things, so I sorted the folios, collated them, and counted them.
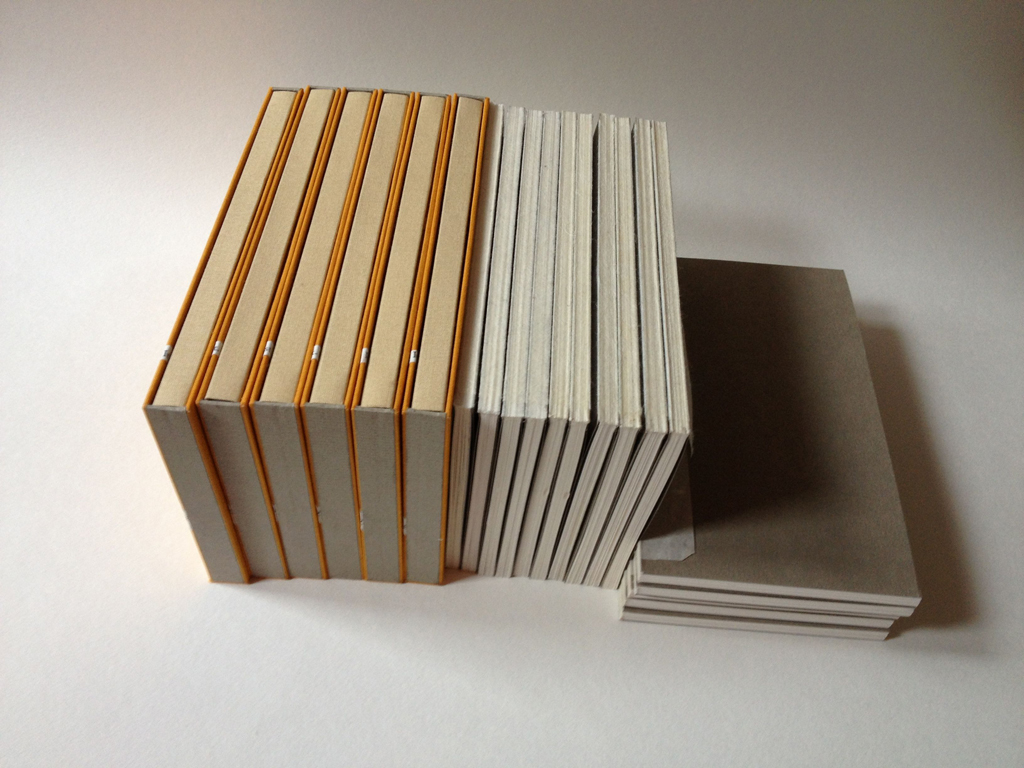
I consolidating spines and applied linings.

And for several of them, I cased them in and made the boxes.
Progress Report:
51 copies of 75 are bound, boxed, numbered and signed. An additional 15 copies are ready for their cases and boxes.
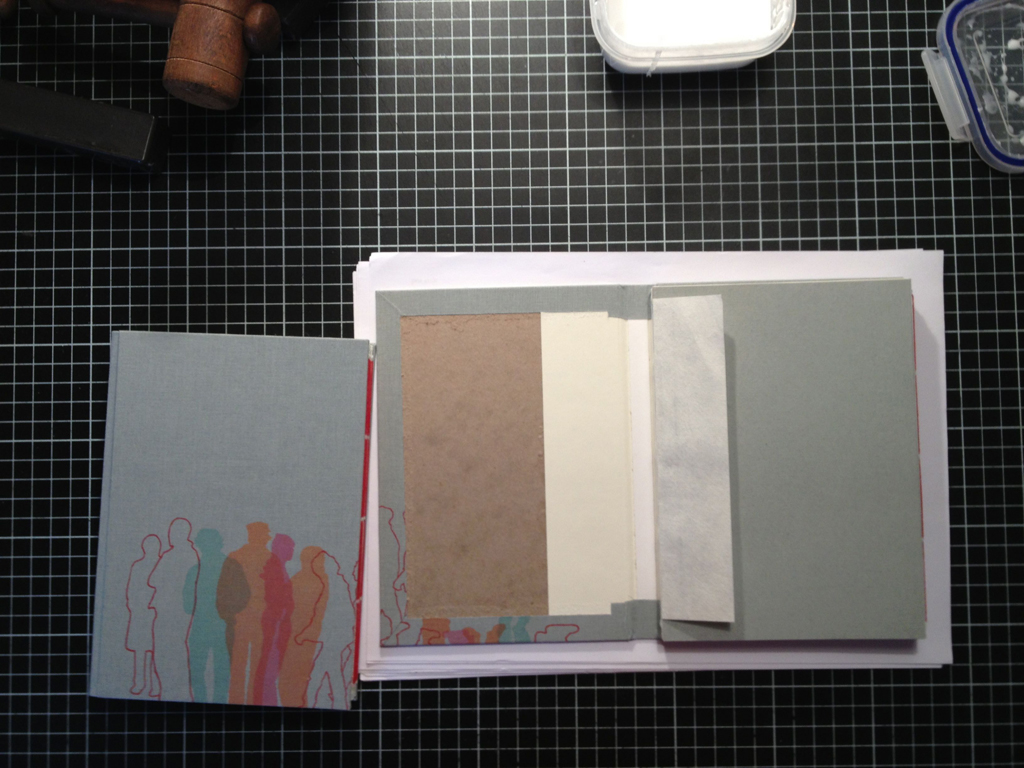
Point of View (2008), edition of 100 copies

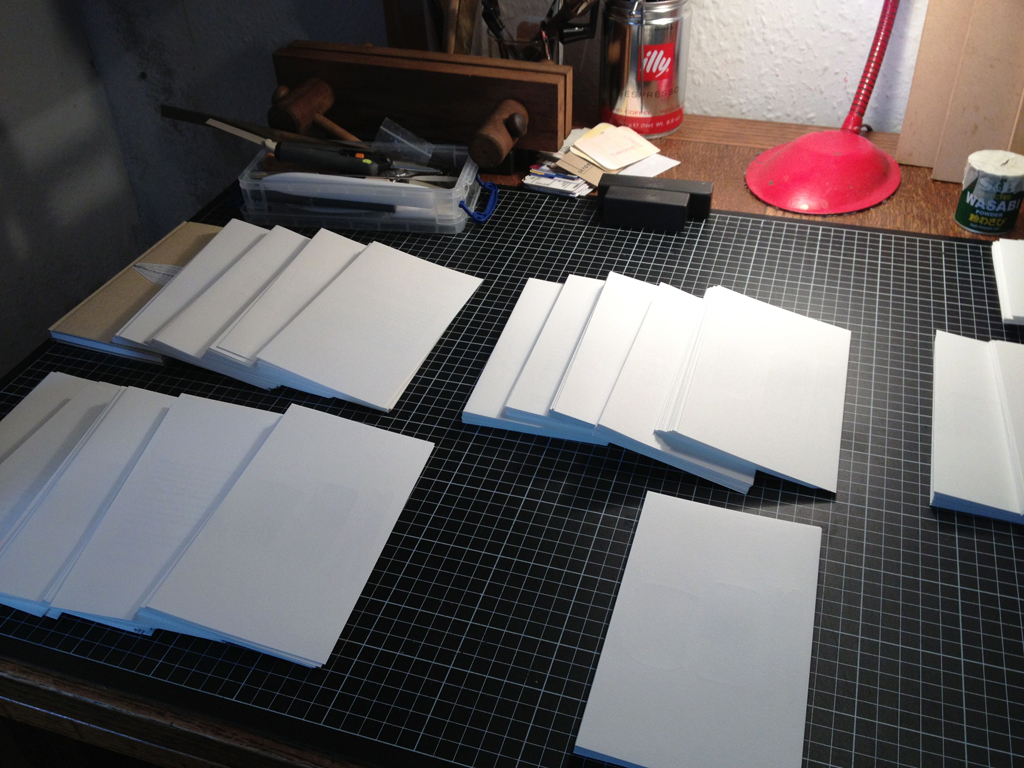
Yeah, ok, it’s not great to have binding still to do for an edition from 2008, I hear you. But look at the edition size! Never again. As of last week, 70 copies were bound, numbered and signed. The rest were in various stages, mostly sewed up and waiting to be united with their cases, many of which were already made. I brought a tub’s worth of this project over to England recently so I could finally tackle a good number of them. Here are a few of them, bound several years ago and simply awaiting their cases:
Unification:
kaboom.

Progress Report:

a total of 82 out of 100 copies are bound, numbered and signed.
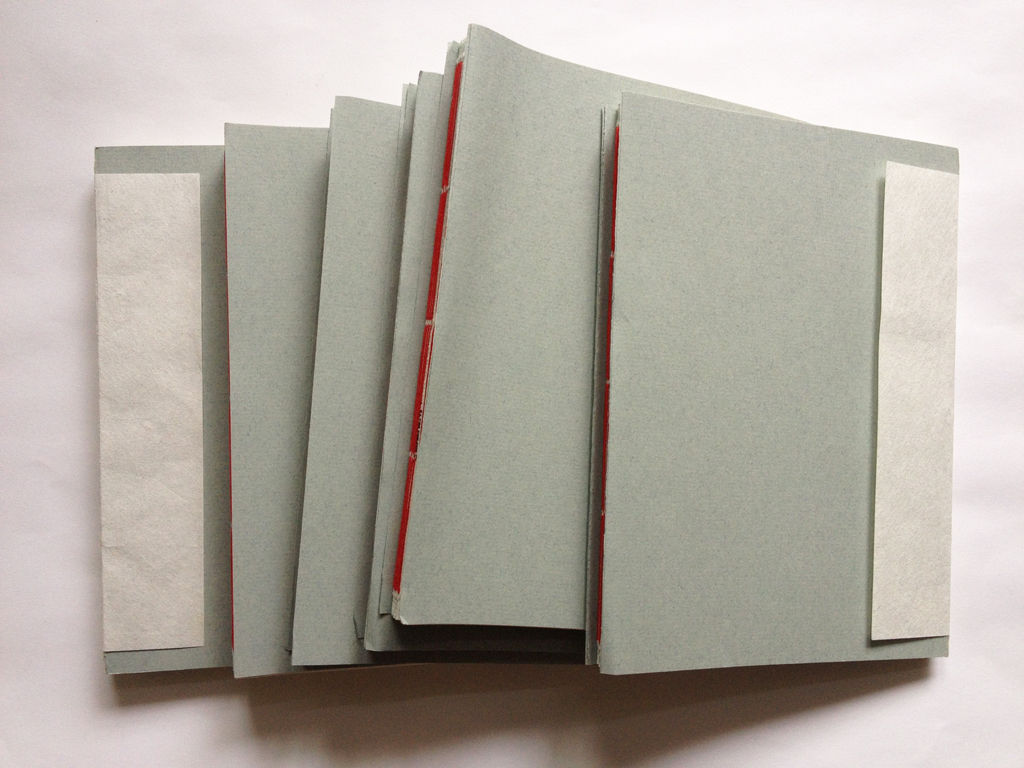
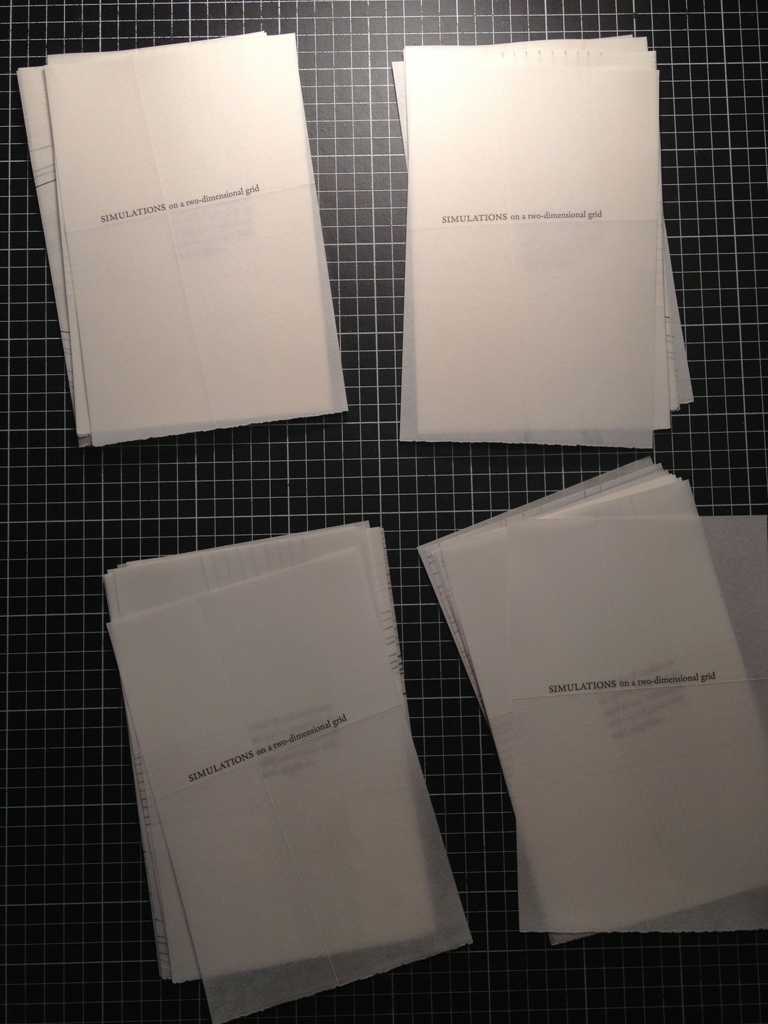
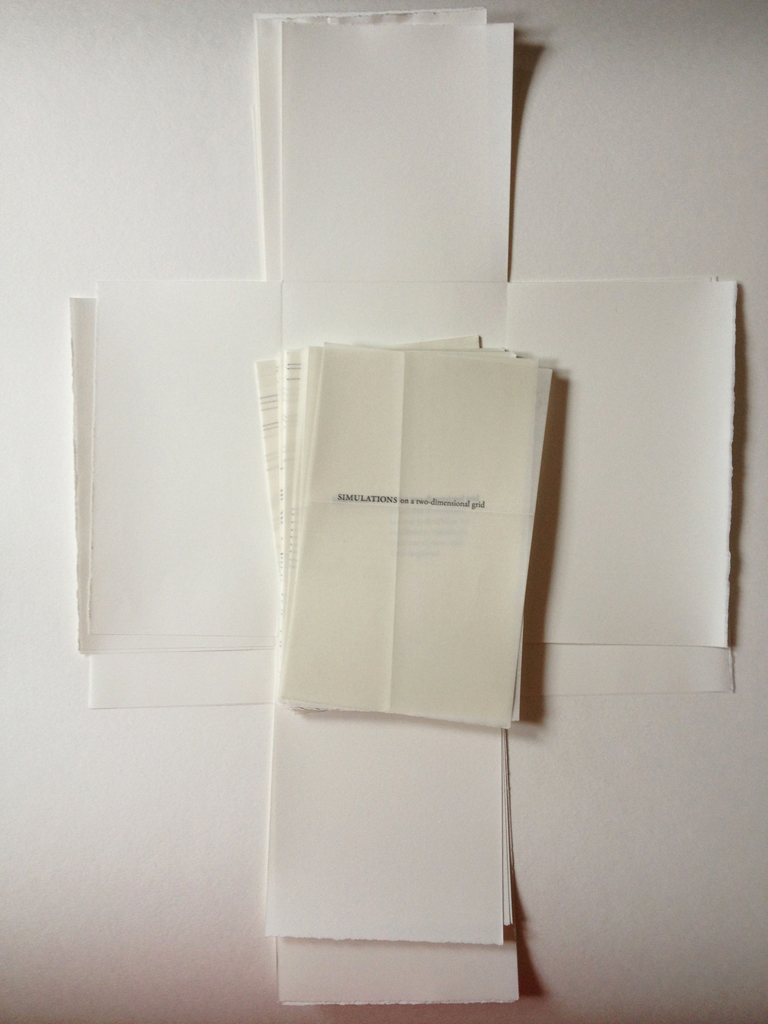
Simulations on a three dimensional grid (2013), edition of ten copies
 As of last week: 8 copies were waxed, numbered, housed in a portfolio wrapper, and signed. Two copies to go, plus two proofs.
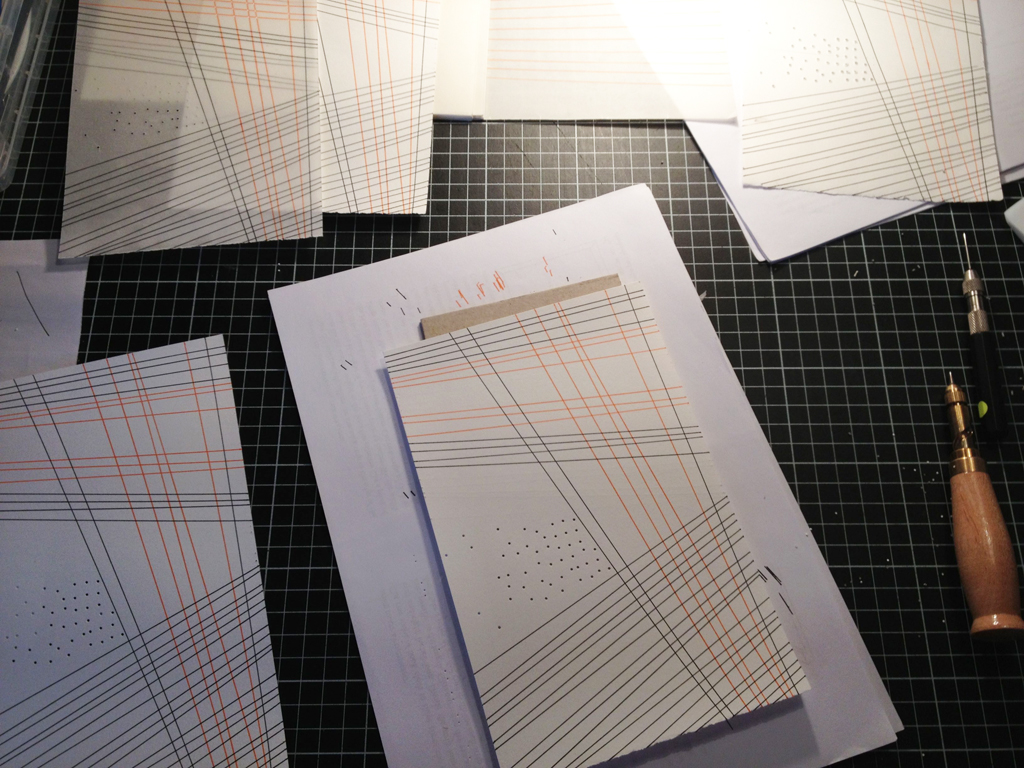
Most of the drawing and punching and folding was done for the last four copies, but a few folios remained. As soon as I knocked these out it was waxing time. There must be a sleeker, better, more binderly way to do this, but I will now confess (after having been asked a number of times and answering in a weird and evasive way) that I used tea lights, a hammer, and an iron. Behold:
Step #1: bash tea lights into powder with hammer.

Step #2: melt some wax inside a folded folio of release paper with an iron on low heat. Slip in the page you wish to wax and iron it until the wax has soaked through.

Step #3: Remove and let cool. Now it looks gross and too waxy.

Step #4: place overly waxed folio between blotting papers and iron on higher heat until the excess wax has been soaked into the blotters.

Boom. Done.
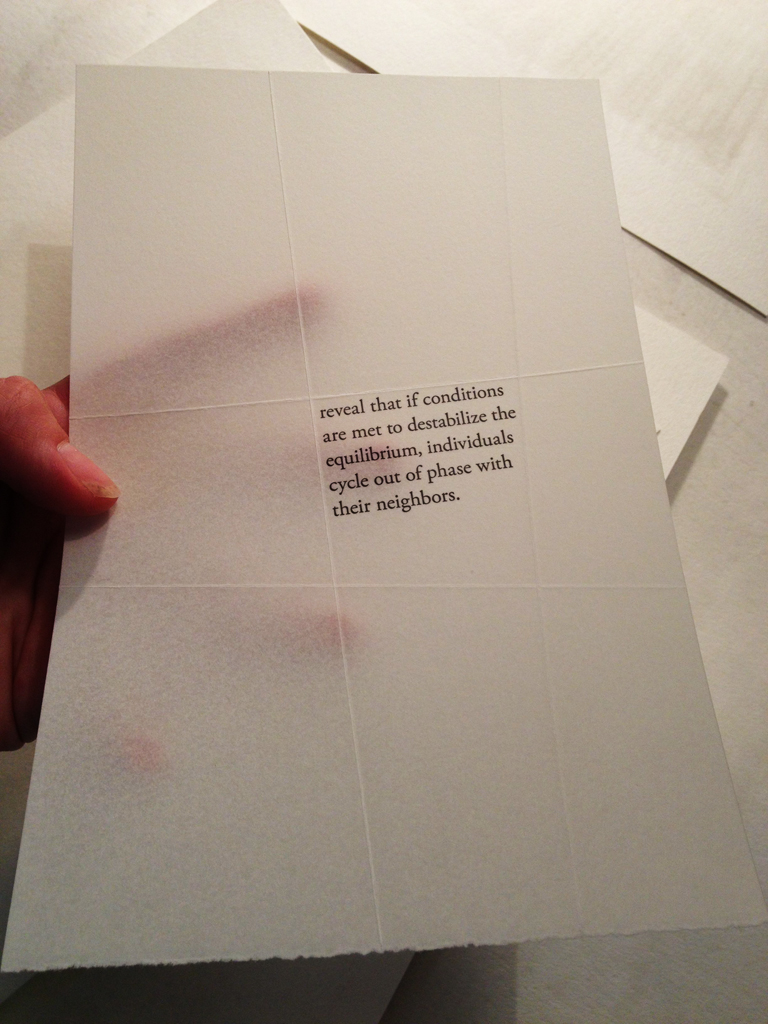
Well, done with that folio, anyway. To finish up the last few copies of this edition, I had to do this 48 times. Which I did yesterday.
Conclusion:
Well, I am still working on it. All of the sheets are completed, I simply need to make and wax the wrappers. I aim to finish these by the end of the day. Just taking a little blog break.
IMPORTANT AND RELEVANT NEWS: We have found a new flat. Soon, a bindery located in its own dedicated room with its own dedicated door. It will not be located under a bed of any kind. Stay tuned for a million photos and verbose, heart-bursting joy after we move in in mid to late August.
10 comments on “Clearing the Decks”
Leave a comment


Wish you all the best with moving to the new apartment. Love your blog, enjoy every item you post!
Thank you so much Jan! I cannot wait to get into the new bindery. Stay tuned for photos. Maybe some before and after.
I admire your work ethic and the beautiful work you make. You are really determined! I have work waiting in my studio – three more colors to print. But do you think I can get to it? Not yet. Other things are calling.
Thank you Judy! Good luck with those three colors. I understand the situation. I’m glad to have gotten so much done this week, but there are still piles and piles left to address. dear oh dear oh dear.
Things pile up, indeed. I spent some time in my tiny bindery yesterday just making a list of all the projects-in-process and what each one needs (this one needs gluing, this one needs sewing, this one needs matting, this one…).
Thanks for another great post, and all best,
Emily
Tiny Binderies unite! Good luck with your list, Emily. Don’t lose it in the debris!
I need to do some serious “clearing” in my studio as well. Although I am not nearly as efficient as you are, you’ve inspired me to get started. And by the way, I always enjoy seeing pictures of your work – I wish I could see it in person.
Thank you for a great post!
Thanks! If you can believe it, after a week away the bindery is a complete disaster again! I can’t even get in there without pushing a box out of the way. I love seeing images of your work and bench as well, Let me know if you are ever in the UK! Craftspeople unite!
I met a young woman today named Erin Morris. I am a box maker, completely untrained, but with an affinity for the craft. Erin turned me on to your blog and I love it. I will be studying many of your photographs for the next few days while I recover from an open house I did yesterday. She has already shown me a better way a better corner method than the one I devised/read about/saw a you tube. It was a chance encounter at the Paper Source but I have invited her to join me the next time I do one of these events. I am confident that with your incredible artistry. I will learn a thing or two and be making even better boxes by mid-December. Your craftsmanship/artistry is impeccable and gorgeous!
Hey Bonnie, Thanks so much for your message! I am so glad that you might find those photos useful. Big hello to Erin, best wishes and happy box making!