
How to trim sections to size without a cutter

Not every house is equipped with a guillotine, board shear, or cutter, but this shouldn’t stop you from being able to trim your sections for your books to identical dimensions. Here is the system that I use when I am away from my bindery. This post goes out to bookbinding workshop students past and future.
You will need:
two straight edges, one of them preferably with a thick edge.
a cutting mat with a clear, easy-to-read grid
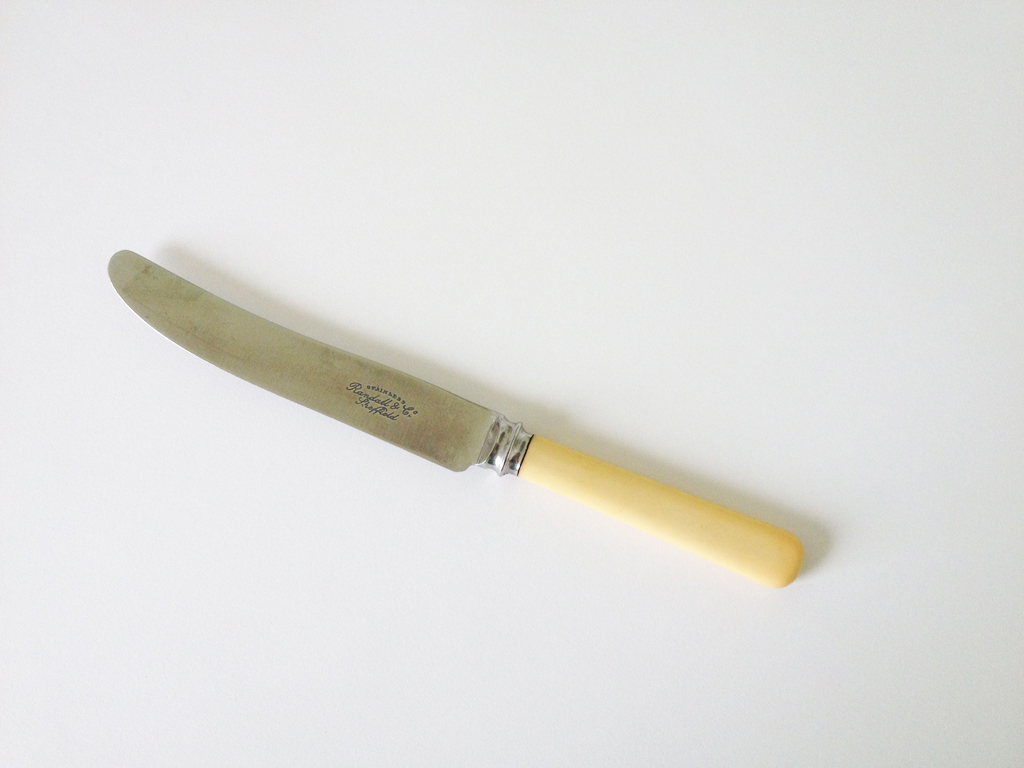
a paper tearing knife (I use a butter knife) No serrated edges!
a bone folder or teflon folder
a pencil
a knife with a sharp blade
masking tape
a weight
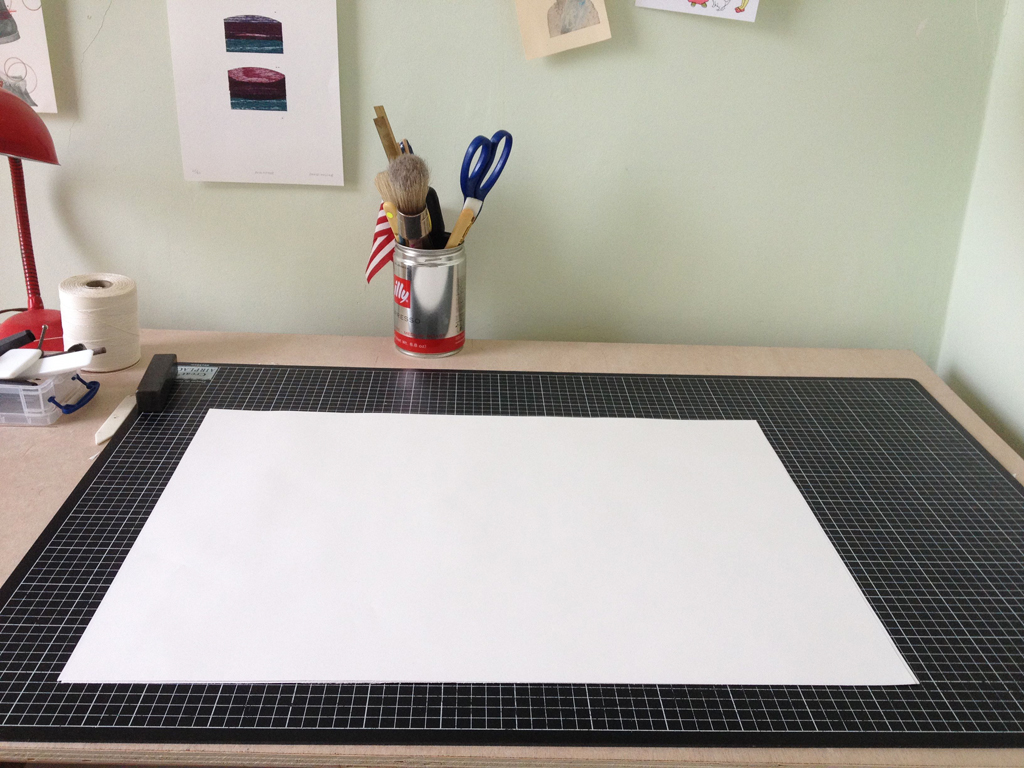
of course, you’ll also need some paper. I’m using a 90 gsm text-weight paper that I ordered so long ago I don’t remember what it is. You could also use paper from a sketch pad. If you are starting with large sheets, you’ll want to tear them down first. This is a full service blog, so here are instructions on how to tear them down:
Fold your large sheet in half, taking care that the corners line up.
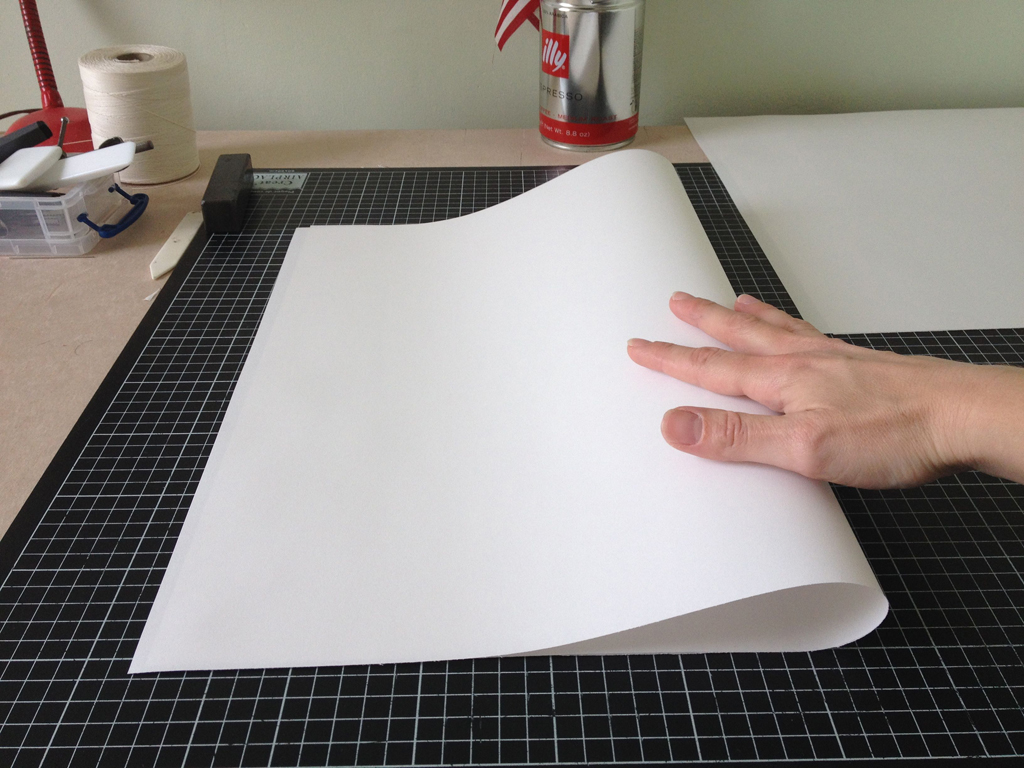
crease with your hands and then your bone folder:
Break out the butter knife!
position your paper on the edge of your table and carefully tear your paper at the fold, keeping the knife blade flat. You really do need a dull blade for this, which is why I prefer my butter knife to a paper tearing knife with a sharp edge.
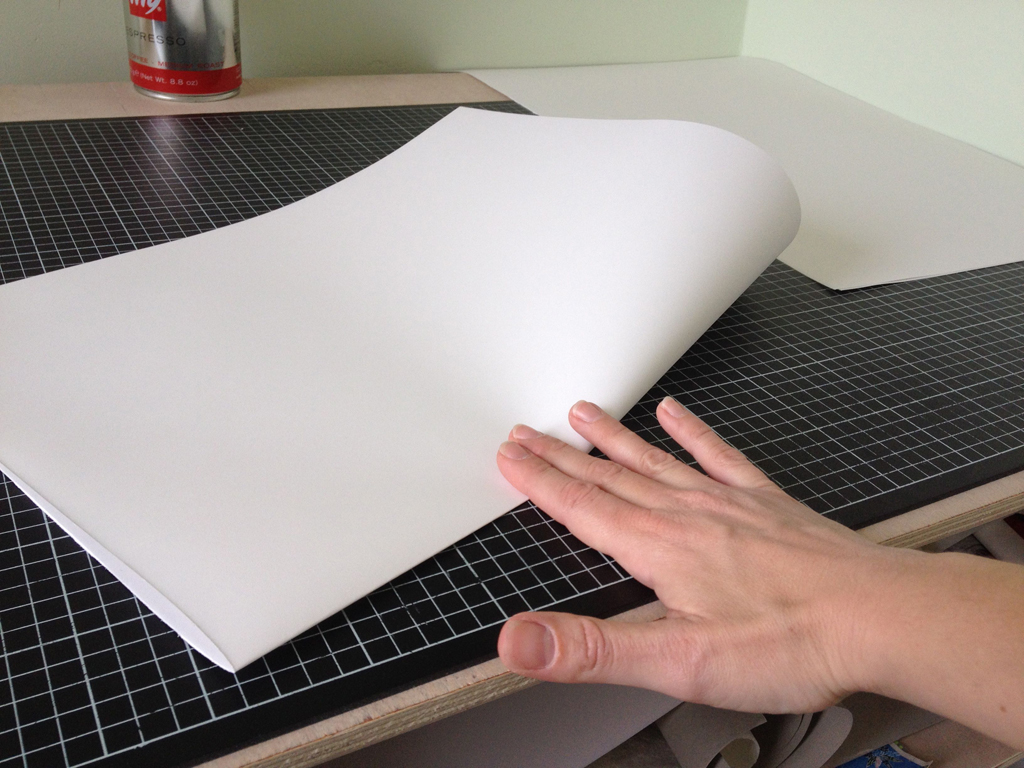
You should be pulling the knife out and away from the fold. Do not try to tear by pulling the knife in the direction of the fold, this will make a messy tear. Tear in short bursts.
You now have two sheets of identical size. Fold these in half together and crease with your bone folder. When you have folded them together, tear them in the same way. You should be able to tear through two layers at once without a problem. If this proves difficult however, tear them one at a time.
Now you should have four sheets of identical size. Carefully fold these all at once, taking care that the corners line up. Crease with your bone folder. This is one finished section. Repeat this process until you have as many sections as you need. (Perhaps with one or two spares, just in case.)
It is important to note here that the paper grain should be parallel to the spine. If your grain is not parallel at this stage, you must tear the sheets down once more. Tear them in batches of two sheets at a time rather than trying to rip through all four sheets at once.
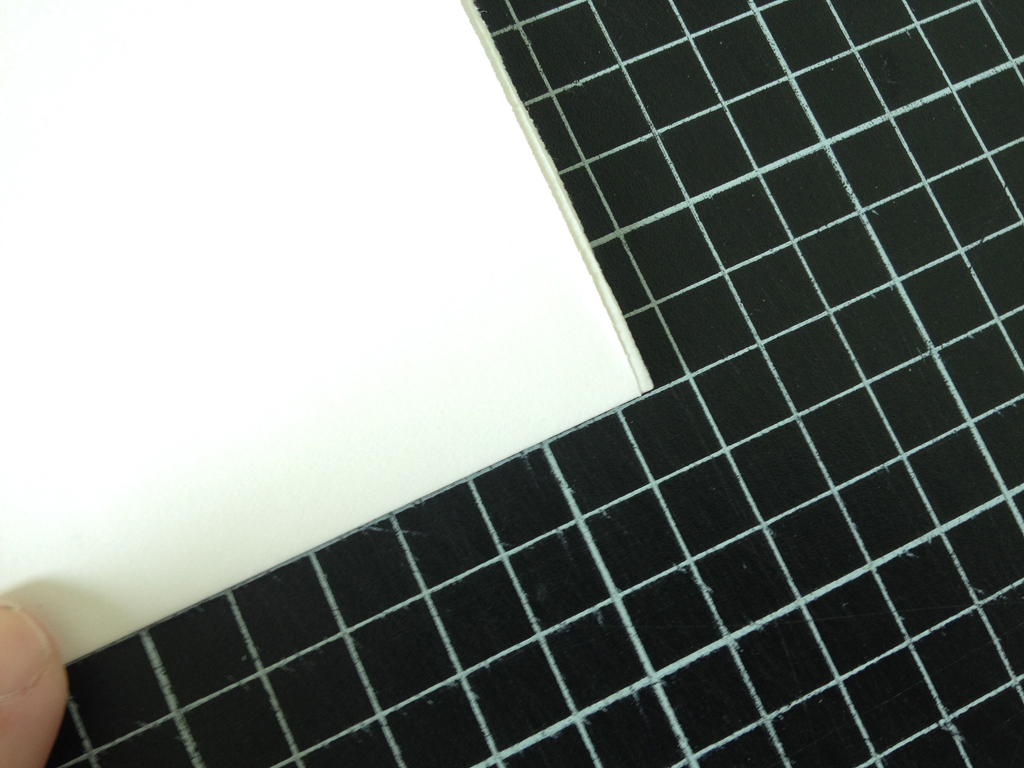
When you have your sections folded and creased you could forgo trimming and just get going with your binding. Sometimes it is nice to have a torn edge in a book:

But if you’d rather have crisp edges or the size of your torn sections is just not going to work, then it is time to get trimming. It is important to trim these sections in stages, repeating each step for every section before moving on to the next step. Editioning the cuts in this way is what makes it possible to cut the sections to identical size.
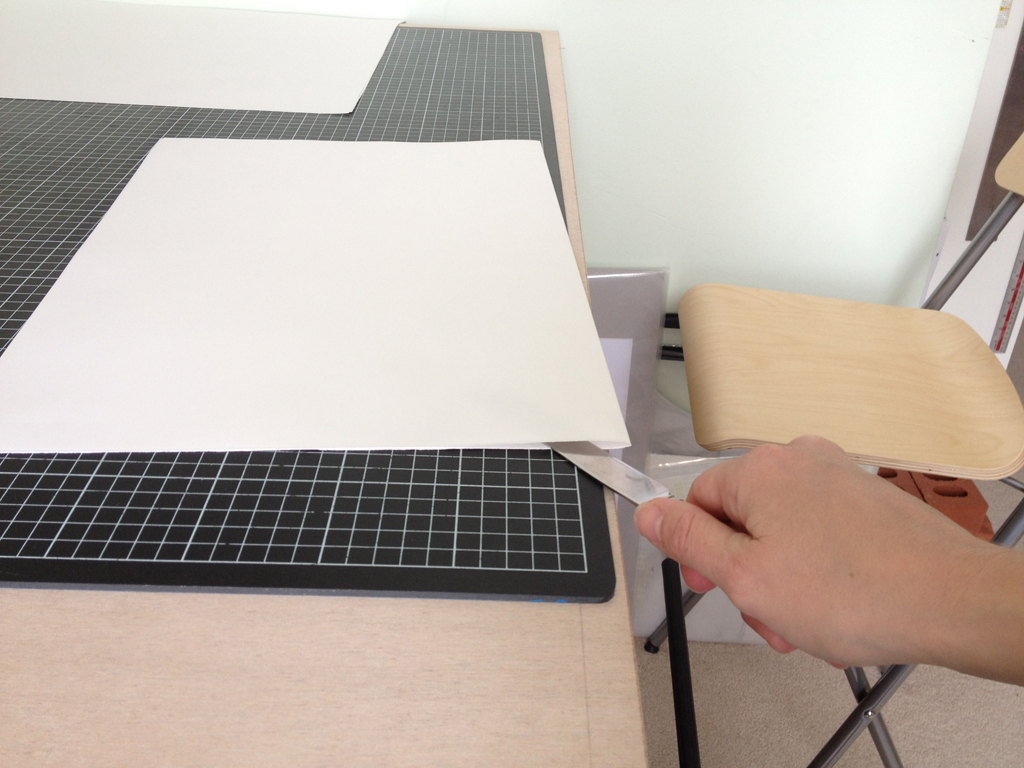
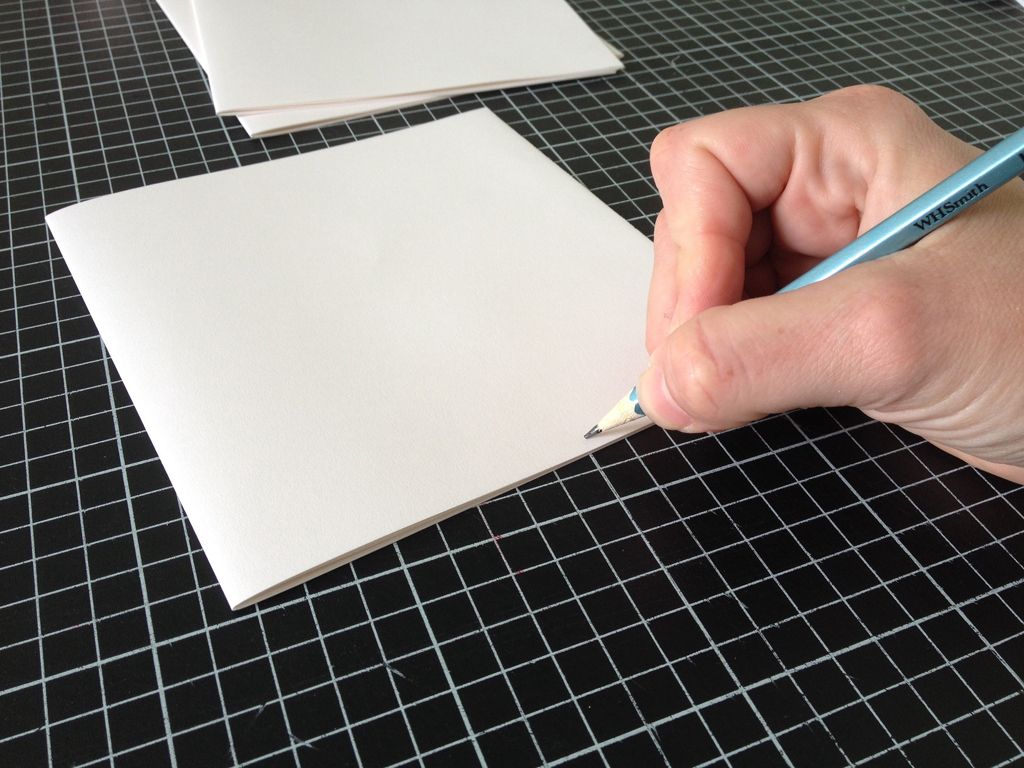
Start by aligning the spine of one section with a line on the grid. Here is some seriously geeky advice: These lines have a thickness that can be close to a millimeter or more. To ensure that you are cutting things squarely, always align your section and/or your ruler to one side of these lines rather than smack in the middle. This way you can be confident that your cut isn’t sloping slightly.
Now align your ruler or straight edge with a perpendicular line close to the edge of your section. The measure here is not important.
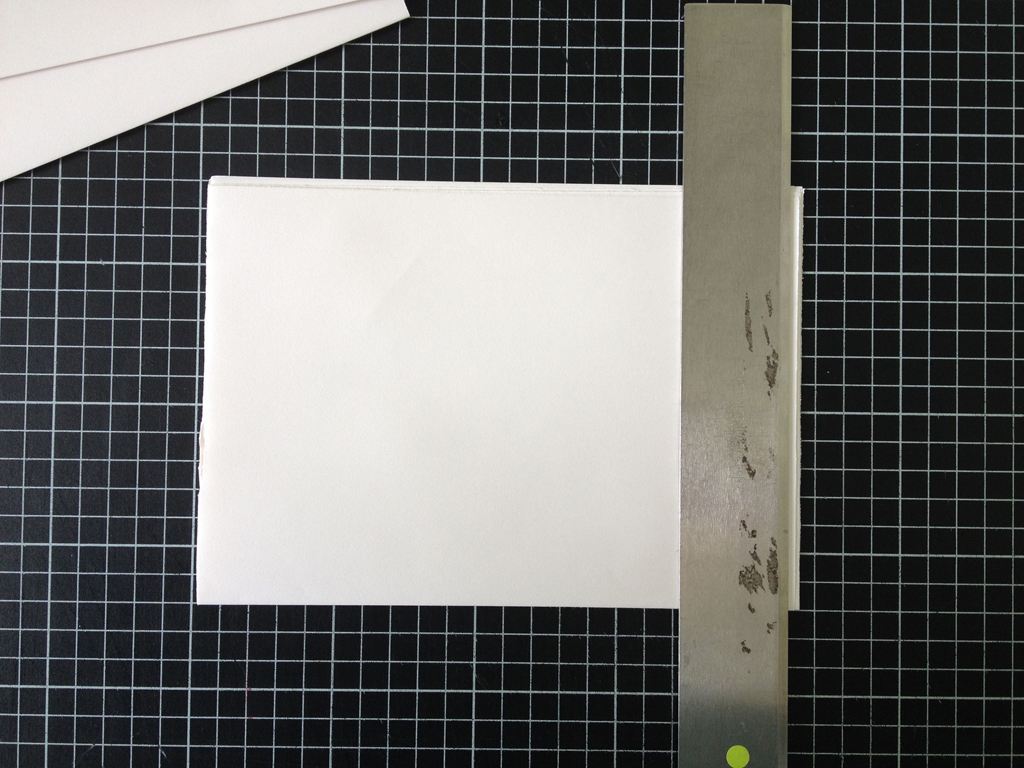
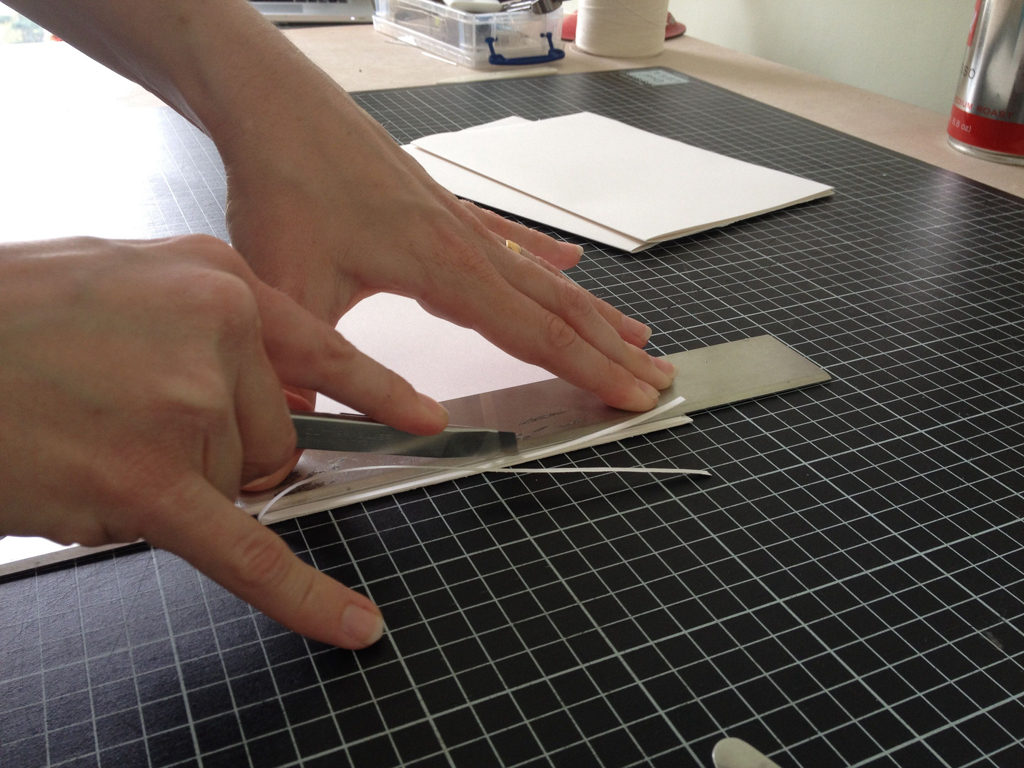
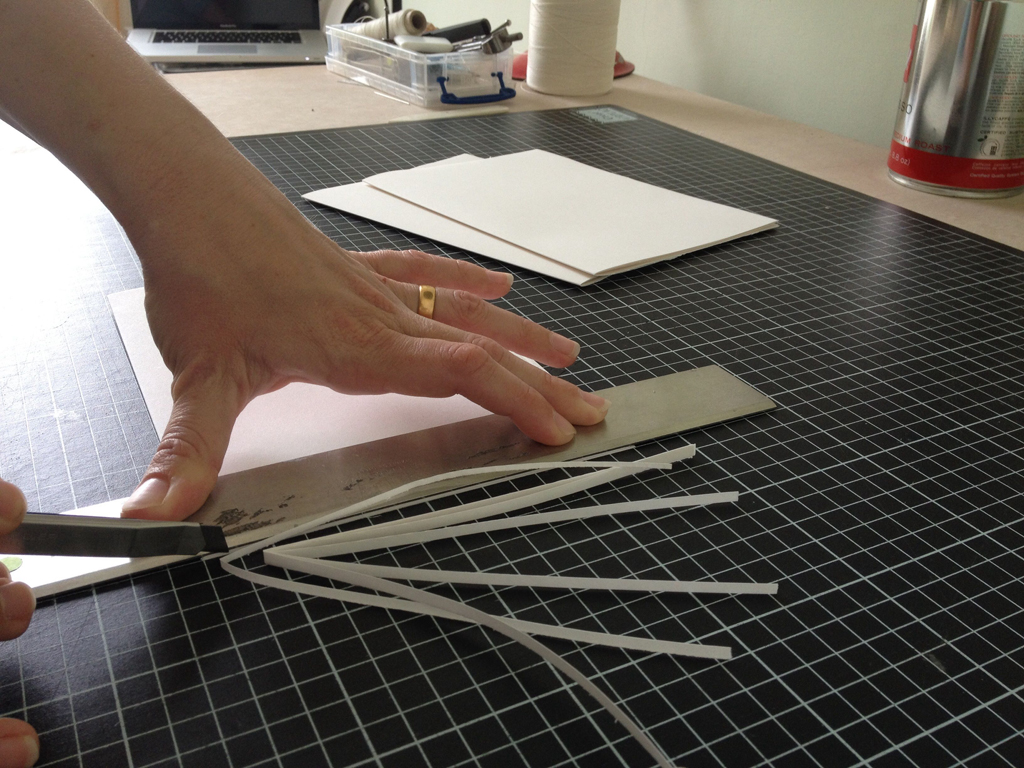
Using your knife with a sharp blade, cut the end off of the section. Do not try to go through all of your pages at once, but rather make a series of light passes, keeping your blade flush against the straight edge.
Repeat this step for all of your sections.

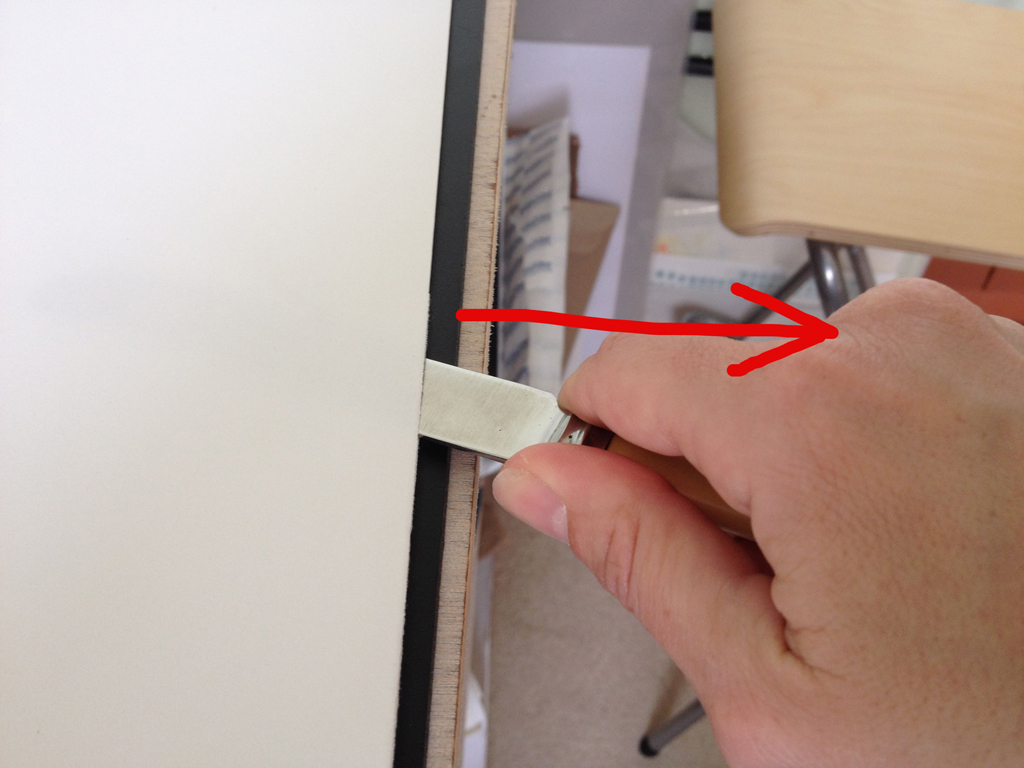
Oh, did your ruler slip just then? Here is a million dollar tip: lift one leg. I know it sounds like I am playing a joke on you, but I swear to you with my hand on the bookbinding bible that this is 100% true. With one leg lifted, all of your weight is pinned onto that ruler and it will be far less likely to slip around while you cut. I do this all the time. Look, I’ll prove it:
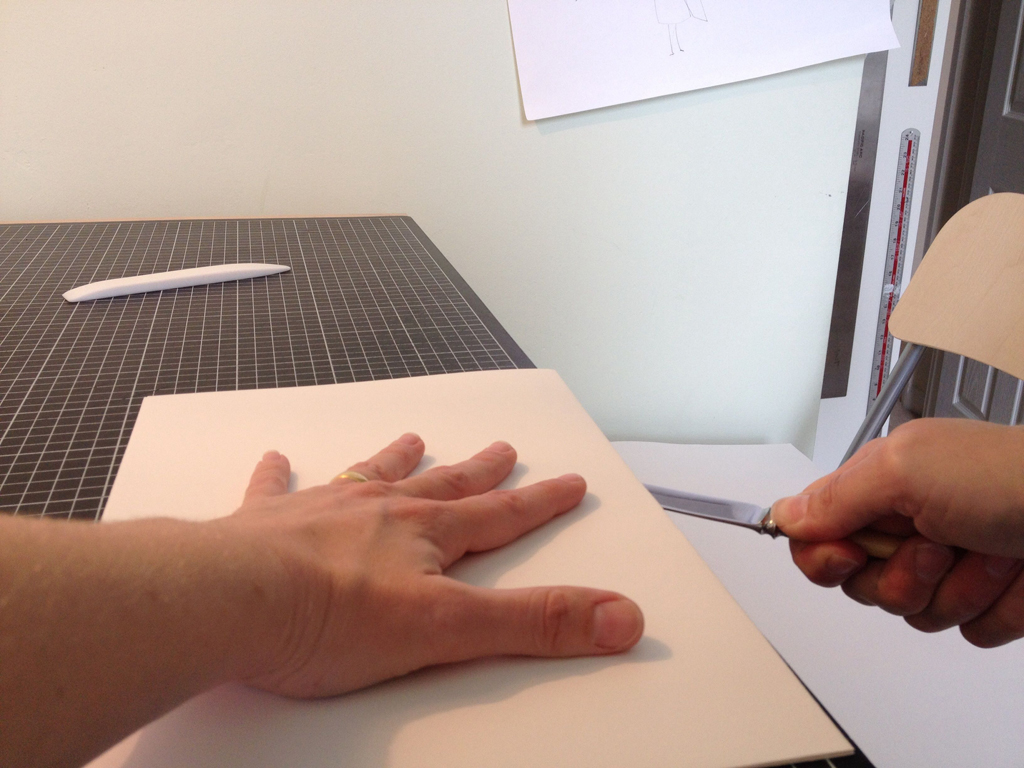
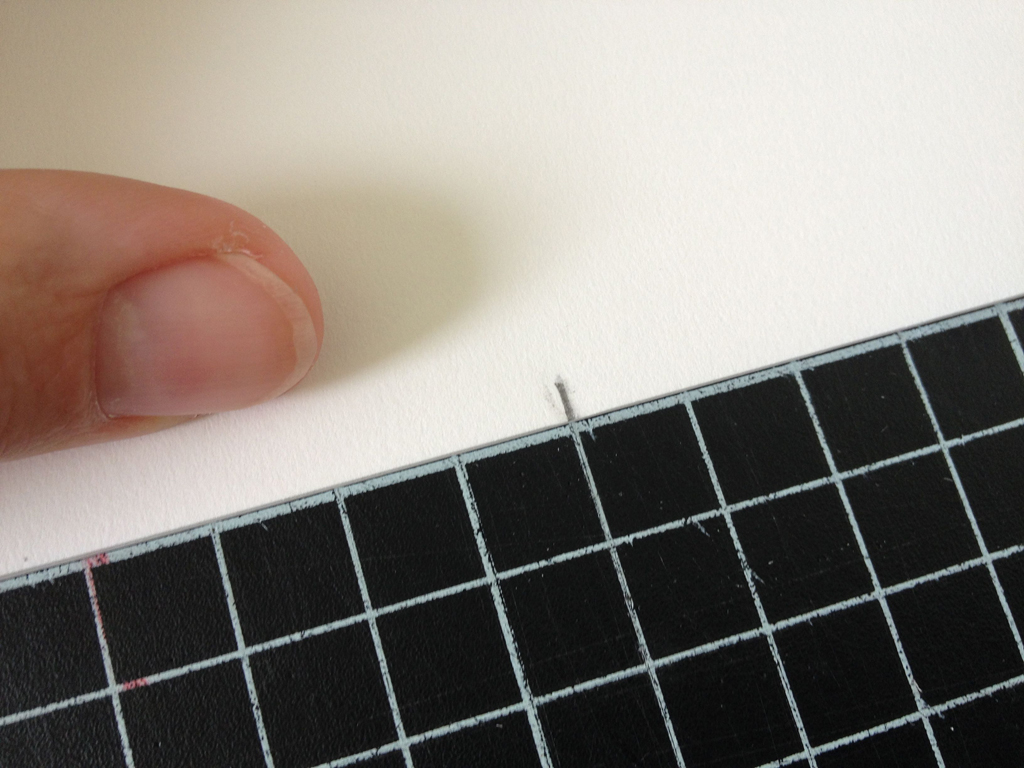
See? Ok time for the second cut. With a pencil, mark the desired height of your finished book along the spine of one of your freshly trimmed sections.
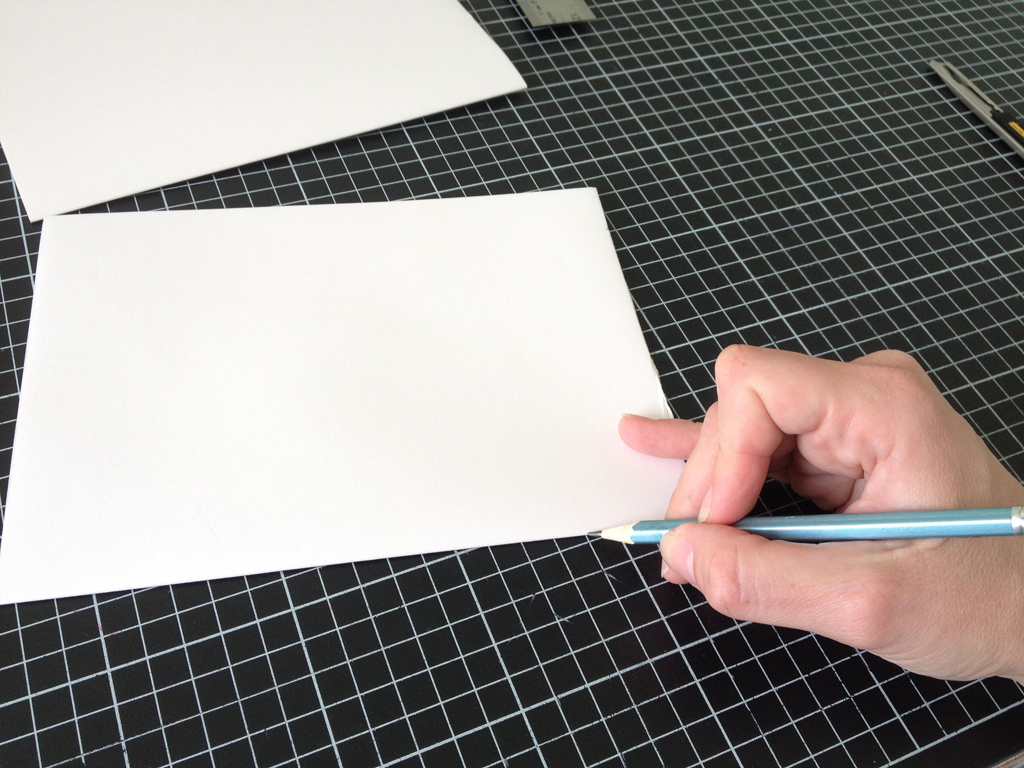
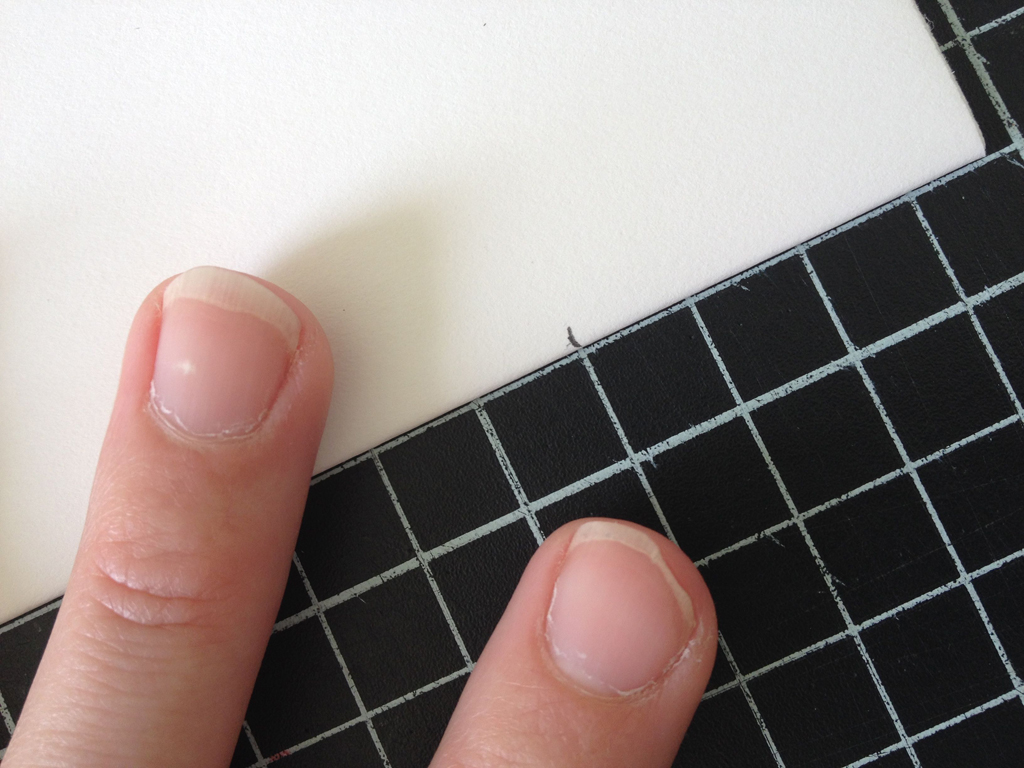
Align the spine with a line on the grid and that pencil mark with a perpendicular line. Admire your perfectly manicured fingernails and take a photo of them to show your blog friends.
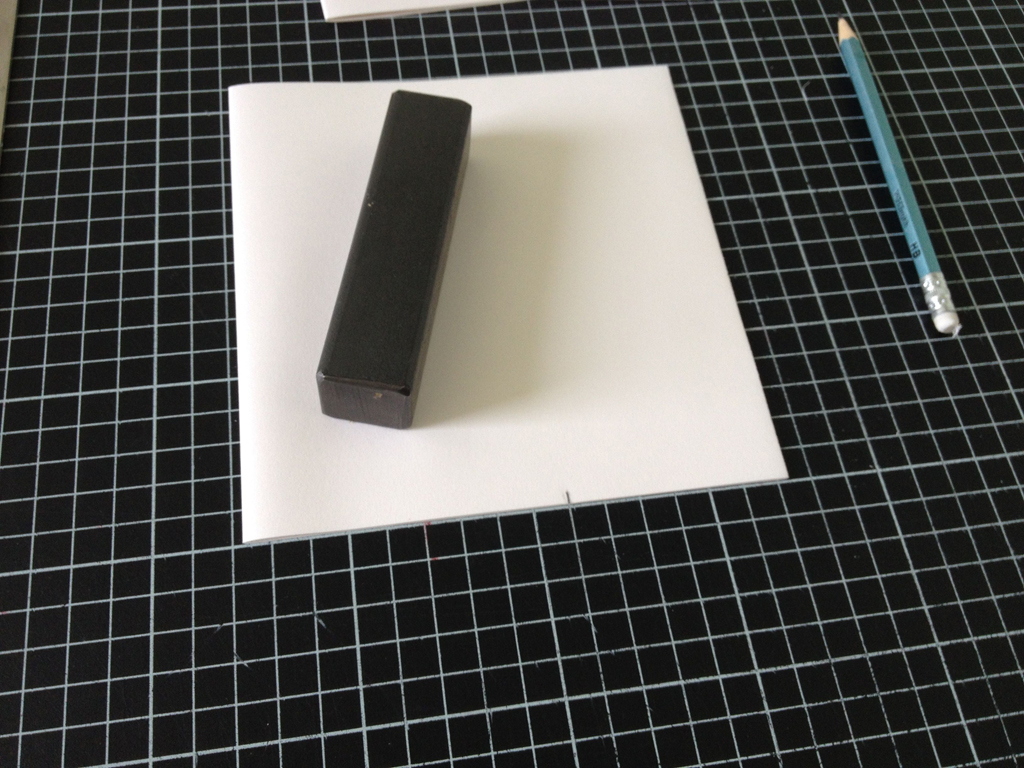
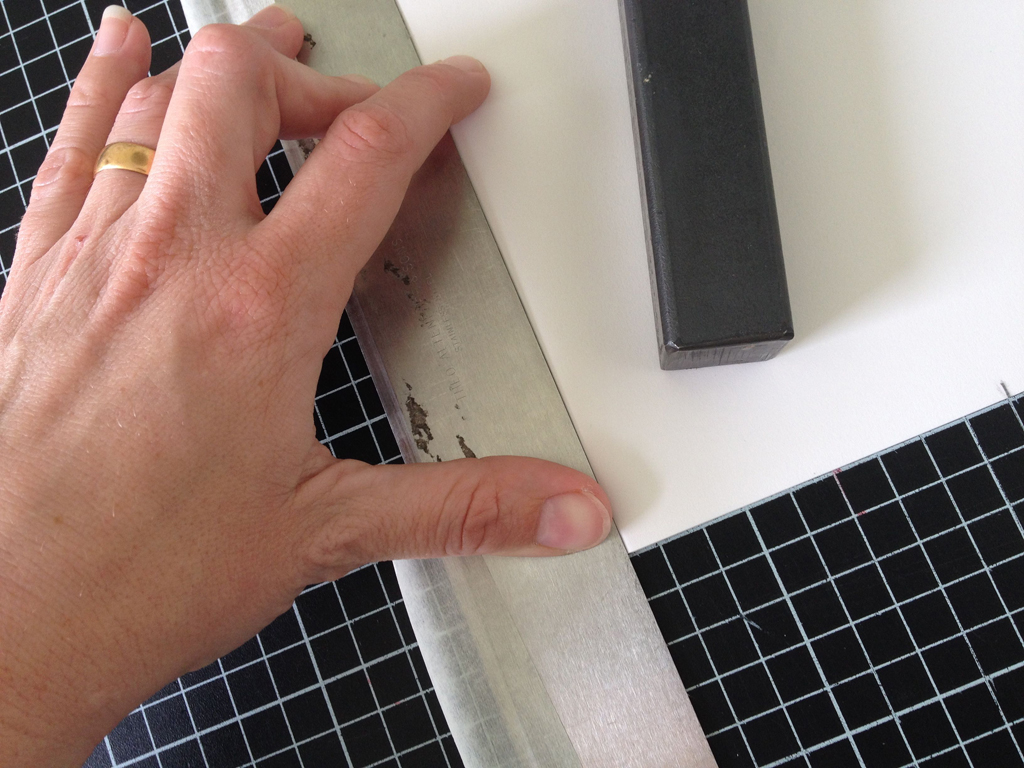
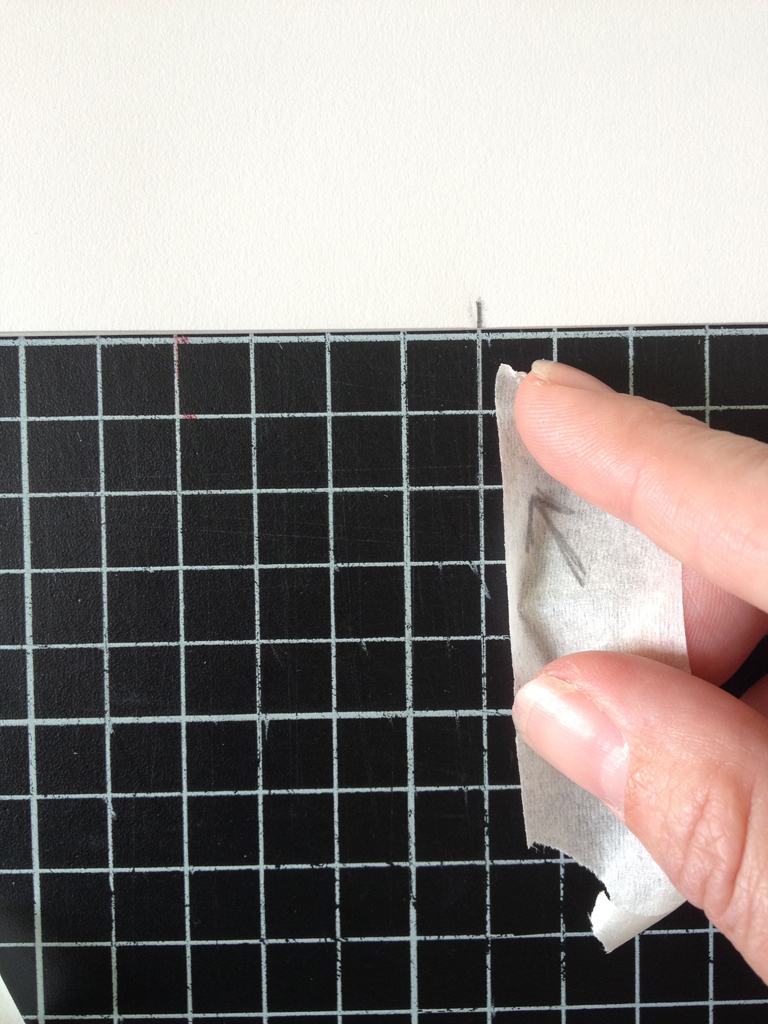
Now here is where the action is. Set a weight on that section after it is sitting just where it should be on the grid and carefully bump your thick straight edge (or a piece of board or whatever thick edge you have on hand) to the trimmed side of that section.
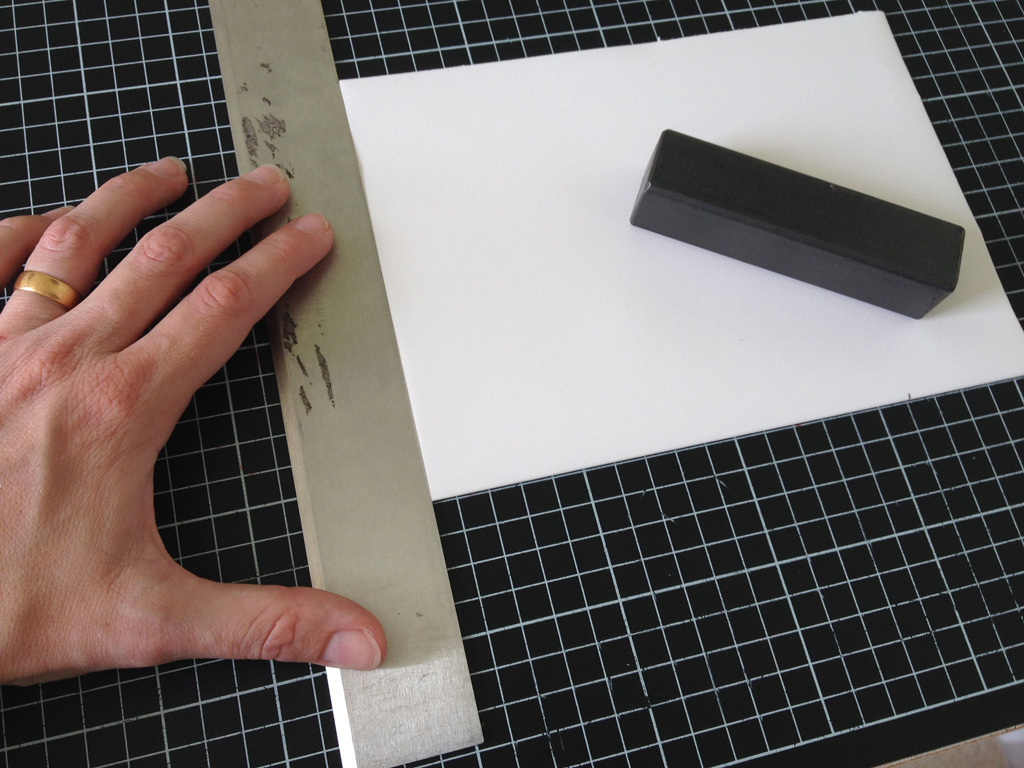
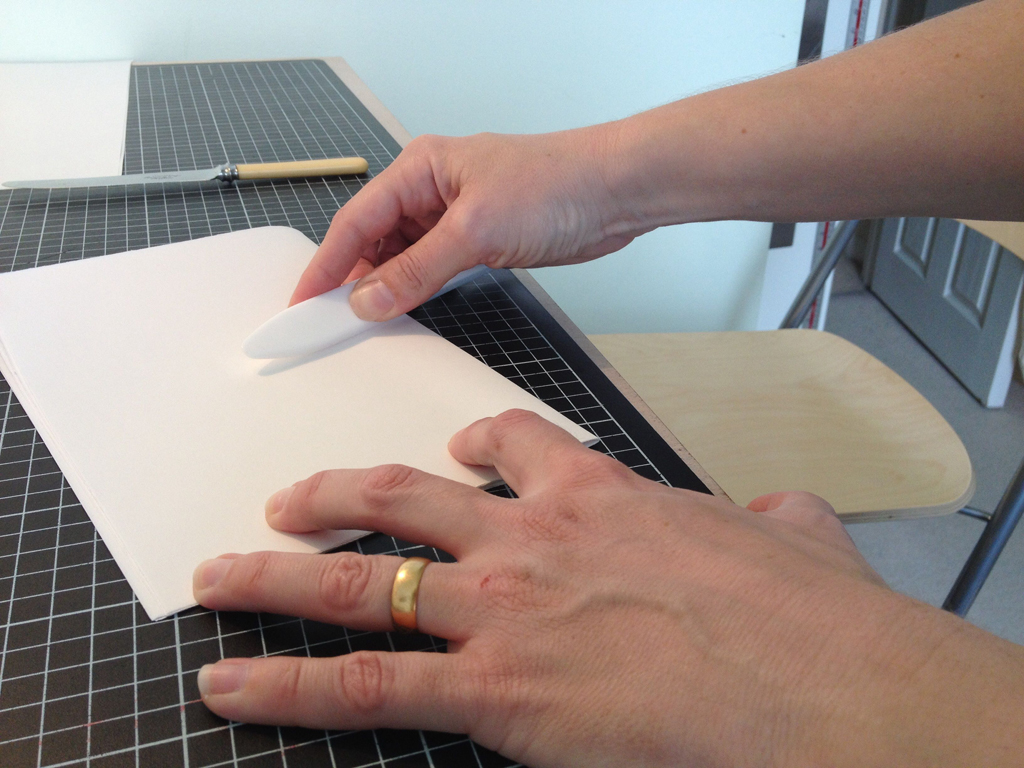
Tape that straight edge down securely.
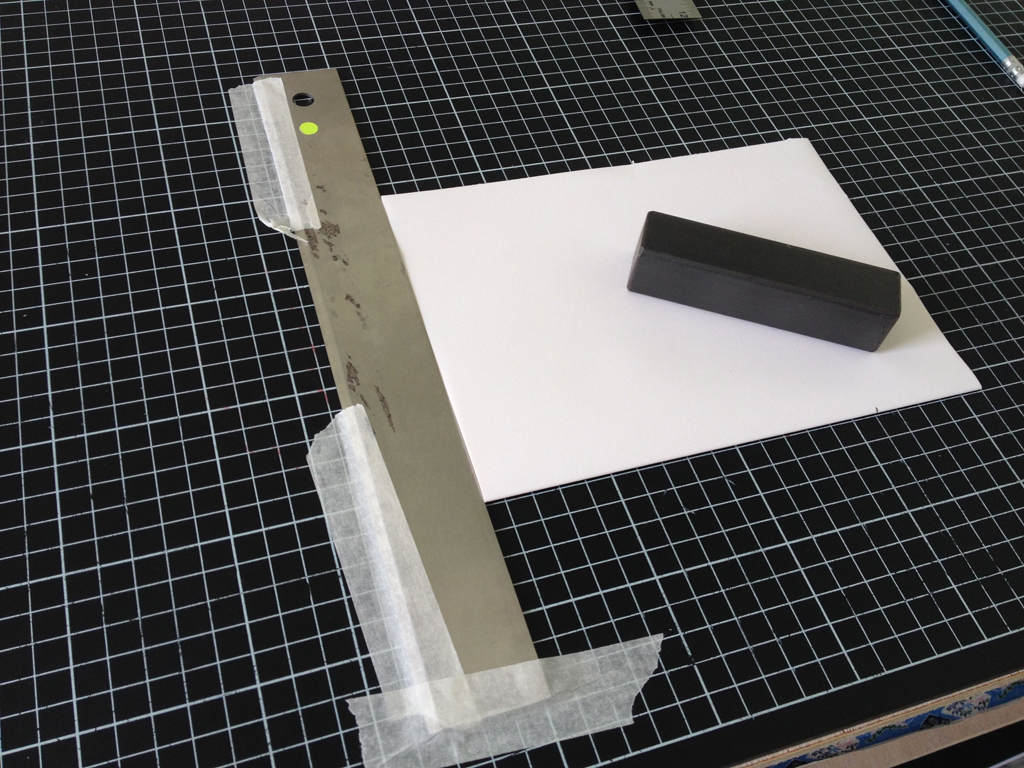
Now use bits of masking tape to indicate to yourself which line on the grid corresponds to the desired height of the sections. (That pencil mark will disappear after you make your first cut, so this step is important!)
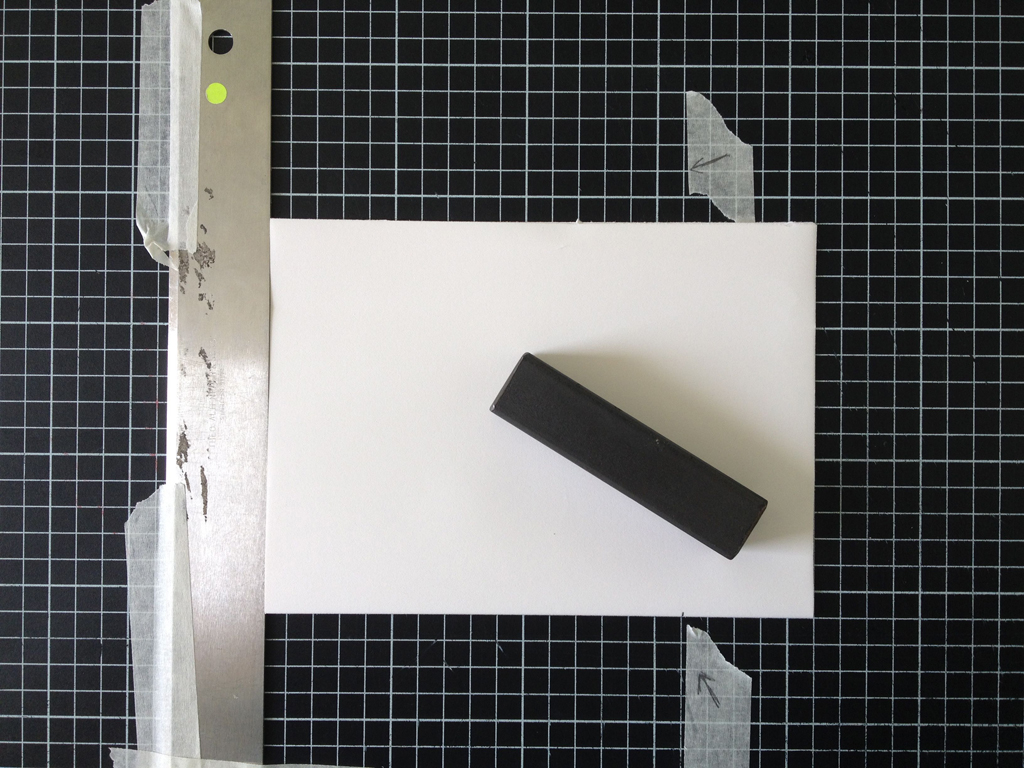
Now you should be able to trim all of your sections to the same height by bumping the trimmed edge up to the straight edge and cutting to that line on the grid.

Repeat this cut for all of your sections. Depending on how many sections you are trimming, you may want to watch Damages at the same time, as I am demonstrating below for your benefit.
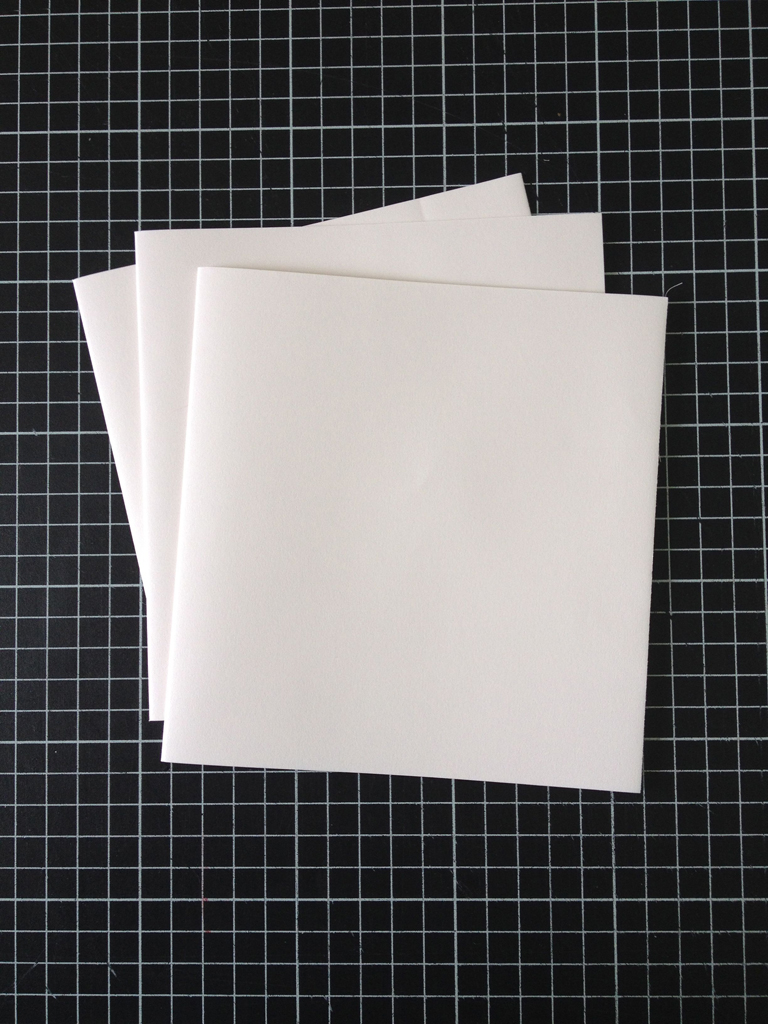
Now two of your three cuts are complete:
I bet you know exactly what to do now, but I will continue this photo-essay anyway thanks to the New England Protestant Work Ethic instilled in me by my forebears.
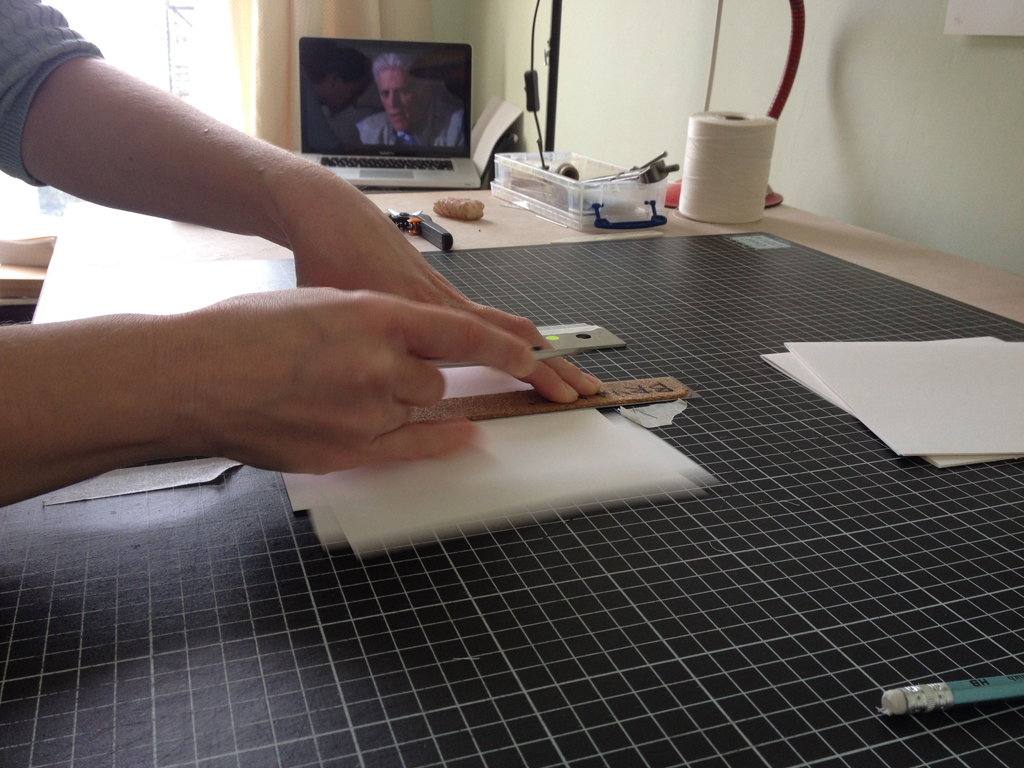
Mark the desired width of your sections with your pencil:
Align one of your trimmed edges with a line on the grid and the pencil mark with a perpendicular line:
weight the section down:
bump up the straight edge to the spine side of the section:
Tape down the straight edge and use the tape to indicate which line is the cutting line:
Trim all of your sections using this method and watch Damages:
Now lets have a look:
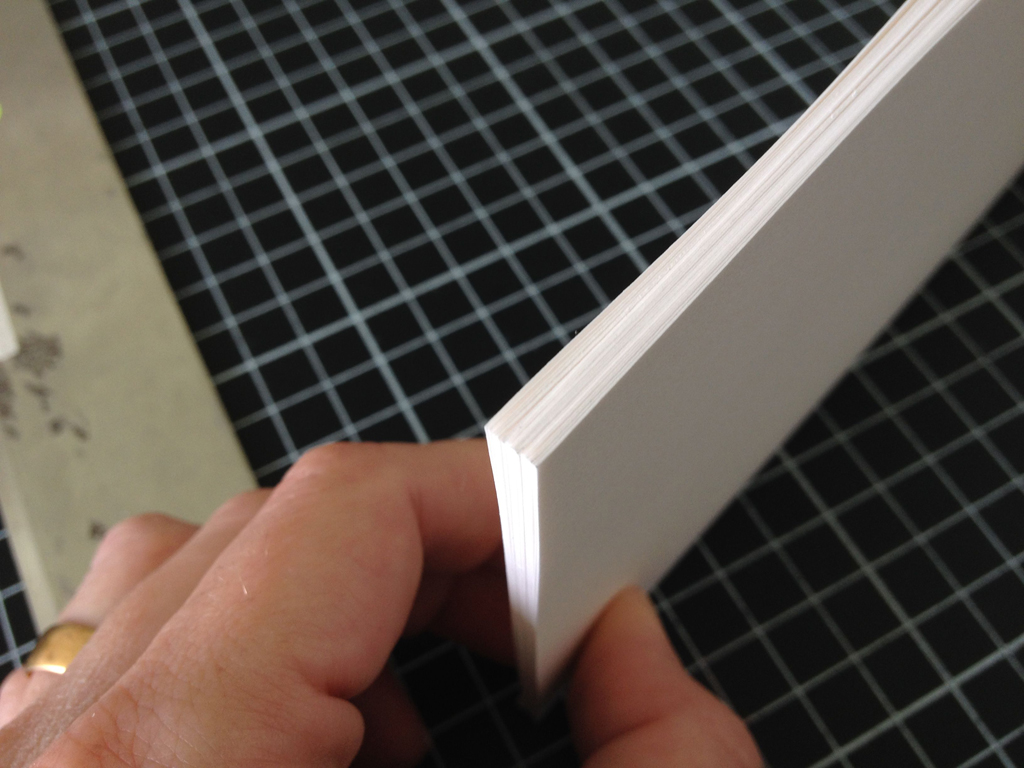
and from another angle?

SUCCESS!
This system is one of many that you can use to trim sections to size, every bookbinder does things just a little differently. If you find that cutting sections by hand is too laborious, it is time to look into getting one of these or one of these or one of these.
28 comments on “How to trim sections to size without a cutter”
Leave a comment


Wonderful. Thanks. I have some large sheets of paper that won’t fit in my cutter and will use this method.
Excellent! I am glad it was helpful!
Hello! I just want to say that i receive your posts on my email, and you are so helpful, your explanations are very clear and most important, you explain the most basic first steps that usually are the ones to find! 🙂
thank you very much!
maria boavida
PS: Oh! my favorite tip was the one of the lifted foot! i am definitely going to try that!
Hello Maria! Thanks so much for your lovely comment! I am so glad that you are finding these posts useful, and glad to have another convert to the lifted foot technique! Best wishes and happy binding,
Sarah
Hi Sarah
As ever a fascinating blog post. I’m really fortunate as I’ve got access to this baby:
and his little cousin:
Man oh man those cousins are BEEE-autiful!
Whooop! Thanks…something else to practice when my other type of book work gives me time (the damn day job is getting in the way 😉 )
I have knives, I have folders, I have pretty paper. I have a rusting ex-school guillotine in the garage, which probably means that this tutorial will come in veeeery handy 🙂 xx
Great! Time to trim trim trim!
Woohoo! Excellent! Break you the knives! Break out the paper! Break out the folders!
One day….when the work stops flowing so fast 😉
Great instructions! And I will use your wonderful one foot technique when I teach this weekend! Love your blog for all kinds of reasons!
Hi Nancy, So glad you found them useful, and that you like the blog! I give you to one foot salute!
thanks for share, I try soon, greetings from Mexico….http://colectivoagridulce.wordpress.com/
Excellent! I am so glad it is useful to you. Good luck to you and thanks for reading. I am waving to you from the South Coast of England.
Thank you so much! I will forward to my students. Even those who do not read English will understand, thanks to the pictures. Sharing tricks of the trade like you do, and with humour, is really great.
From Quebec City, Canada.
Hélène Francoeur
http://www.hfrancoeur.com
Thanks so much Hélène! I am so pleased that you’ll be sharing this. Best wishes and hello to you and your students from Brighton, UK!
What I really absorb from your blog is how much better my books might be if I were to abandon my slapdash, last-minute, it’ll-do approach and TAKE MORE TIME AND CARE. Right now I’m full of the urge to emulate, but I already know what it’ll be like days before the next deadline. Perhaps that suggestion of an assistant…
Oh it’s just like being back at West Dean with you! And I can bear witness to the fact that Sarah really does lift up one foot when she cuts!
And I’ve used this method at home already. I learned something!!
Su
Thanks Su! Flamingos unite! One foot is the way to go. May your ruler never slip xxx
Thank you so much for this tutorial!
I’m glad it was helpful, Daria! Thanks for commenting, and best wishes.
This was good information using jigs to get exact cuts. One more thing you might consider…instead of using tape bits to line up your ruler to make the right side cuts, consider using carpet tape to glue down two bits of card stock or matte board to rest your ruler against…
Thanks for that tip, MJ! The carpet tape is a great idea. When I’ve cut large numbers in this way (or set up a similar jig for scoring) I have used binders board secured with some double stick tape, but I found that my action with the ruler would gradually move the boards and cause me to score in the wrong position. But carpet tape would be much more secure. Thanks!
Best wishes,
Sarah
This was very helpful! The pictures helped me get a really good sense of the process. Thank you!
Hi Julia, I am so glad these instructions were helpful!
Hi Sarah-
Thank you so much for these detailed instructions! I actually purchased a 24” Kutrimmer for box-making/cutting bookboards. Now just starting to learn book binding and 1st attempt at a casebound book was a disaster, specifically because of trying to trim the signatures after sewing and glueing the end papers.All of the instructions I’ve read or watched had me trimming the signatures after the text block had been sewn. It was too thick to trim with the Kutrimmer. Do you always recommend trimming before sewing into a text block? Does your work stay smooth and lined up after sewing?
Thanks for any advice! Also selfishly happy you are in the U.S.A. again! I hope your new journey is going great!
Thank you. Love your humor and this was helpful too. Do you have more videos I could watch or do you teach classes?
Hi Karin, thanks for your message. I am so glad that this post was useful. These days I am an Assistant Professor at the University of Alabama MFA Book Arts Program. (you can see us here: https://slis.ua.edu/mfa-in-book-arts/ ) I sometimes teach summer workshops, and will always list them in my “workshops” section of this blog. I hope we bump into each other sometime!