
Inset label, anyone?
Last week a package arrived from Macy Chadwick in California. Inside? Book cloth, sample components, instructions and magnets for a set of boxes I am making to house our Shift-lab collaborative project. Macy designed the box and handled the production of the first ten. Now it is my time to shine as I complete the last ten boxes.

It is unusual for me to follow someone else’s instructions. I am used to designing and producing my own enclosures, but now I have to try some new things. A new slip case/hinged case combo. An alternate method of covering a slip case with book cloth. Editioning magnet closures. All of this is forcing me to flex new box making muscles, and if you have read much of this blog you must know how much I love to flex my box making muscles.
This box has a total of three inset labels and I am — I’m sorry, what did you say? You aren’t sure how to inset a label? Ok, stay calm. I’ll show you.
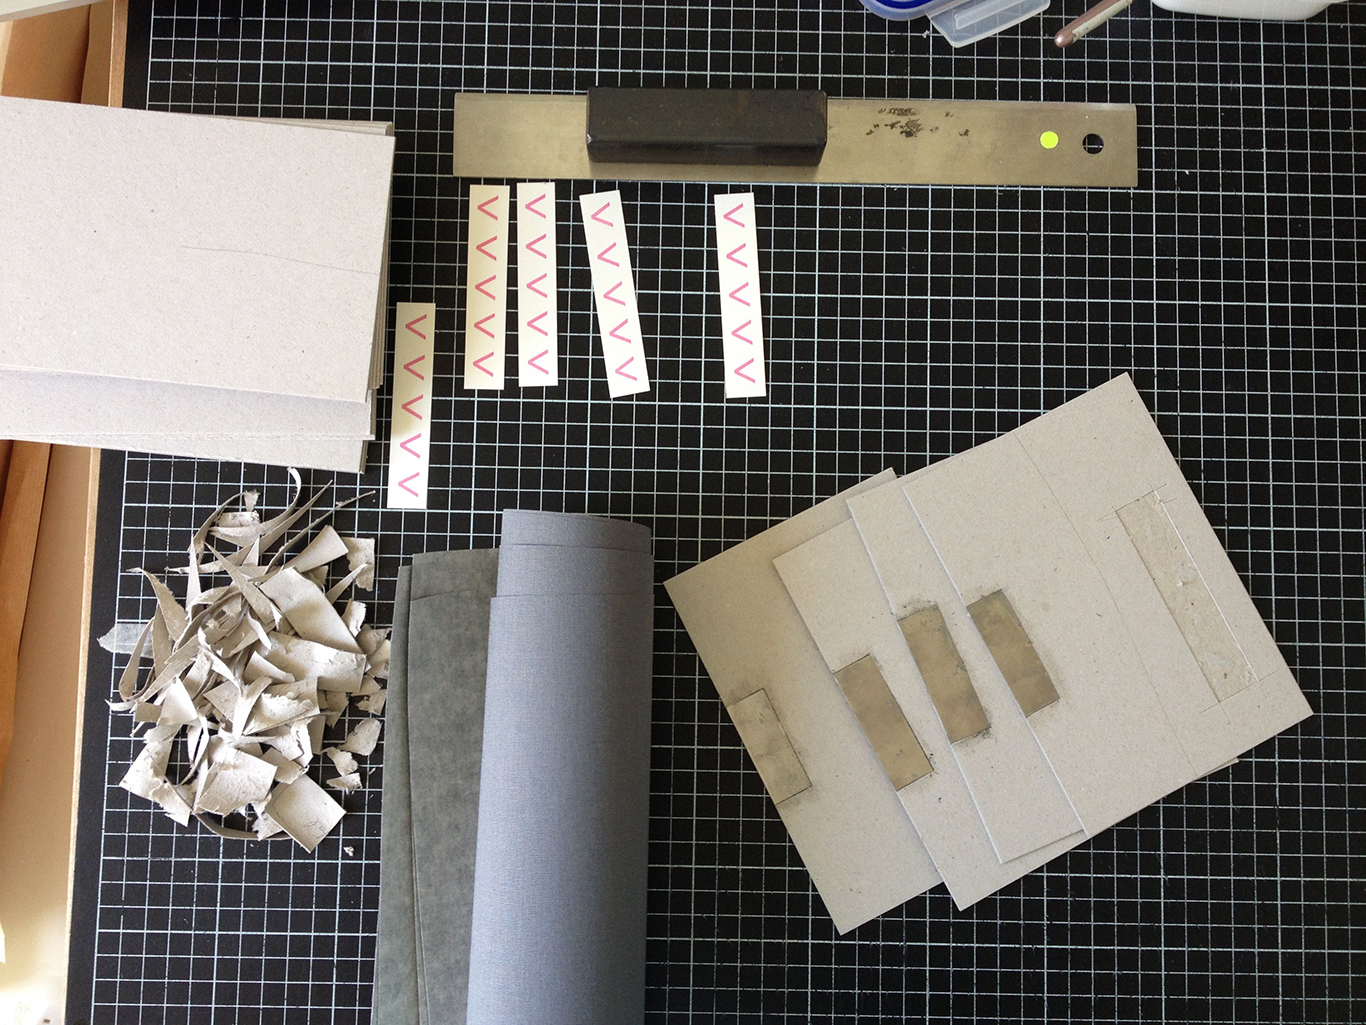
To inset a label you must first position it on your board and mark out an area just a hair larger in all directions to accommodate for the thickness of your covering material, in this case book cloth. I am transferring measurements using a template from the lovely Macy Chadwick to position my inset area.
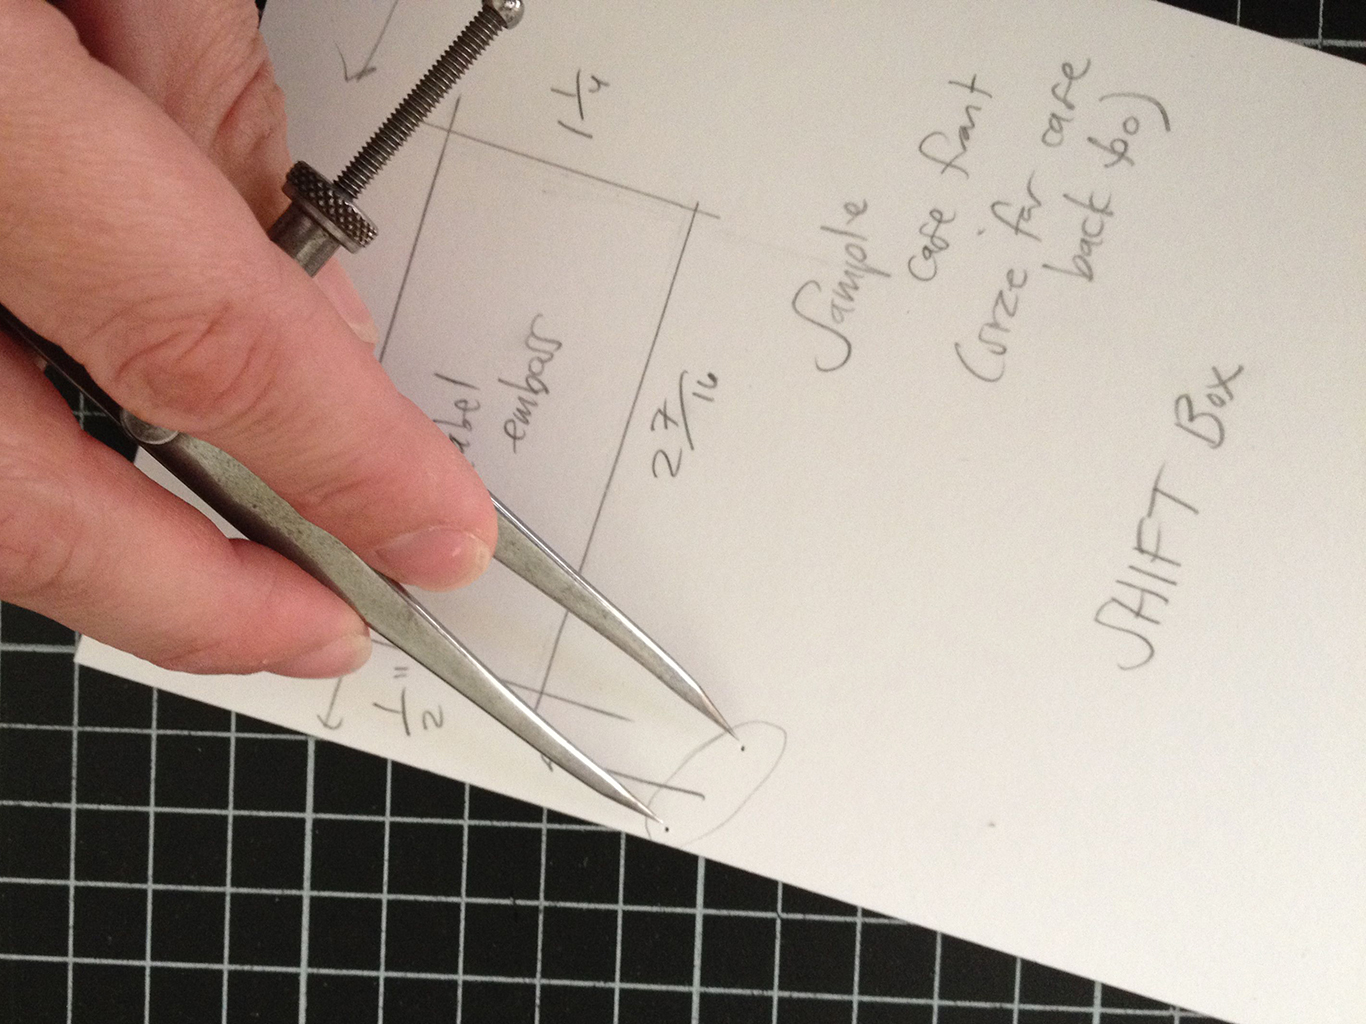
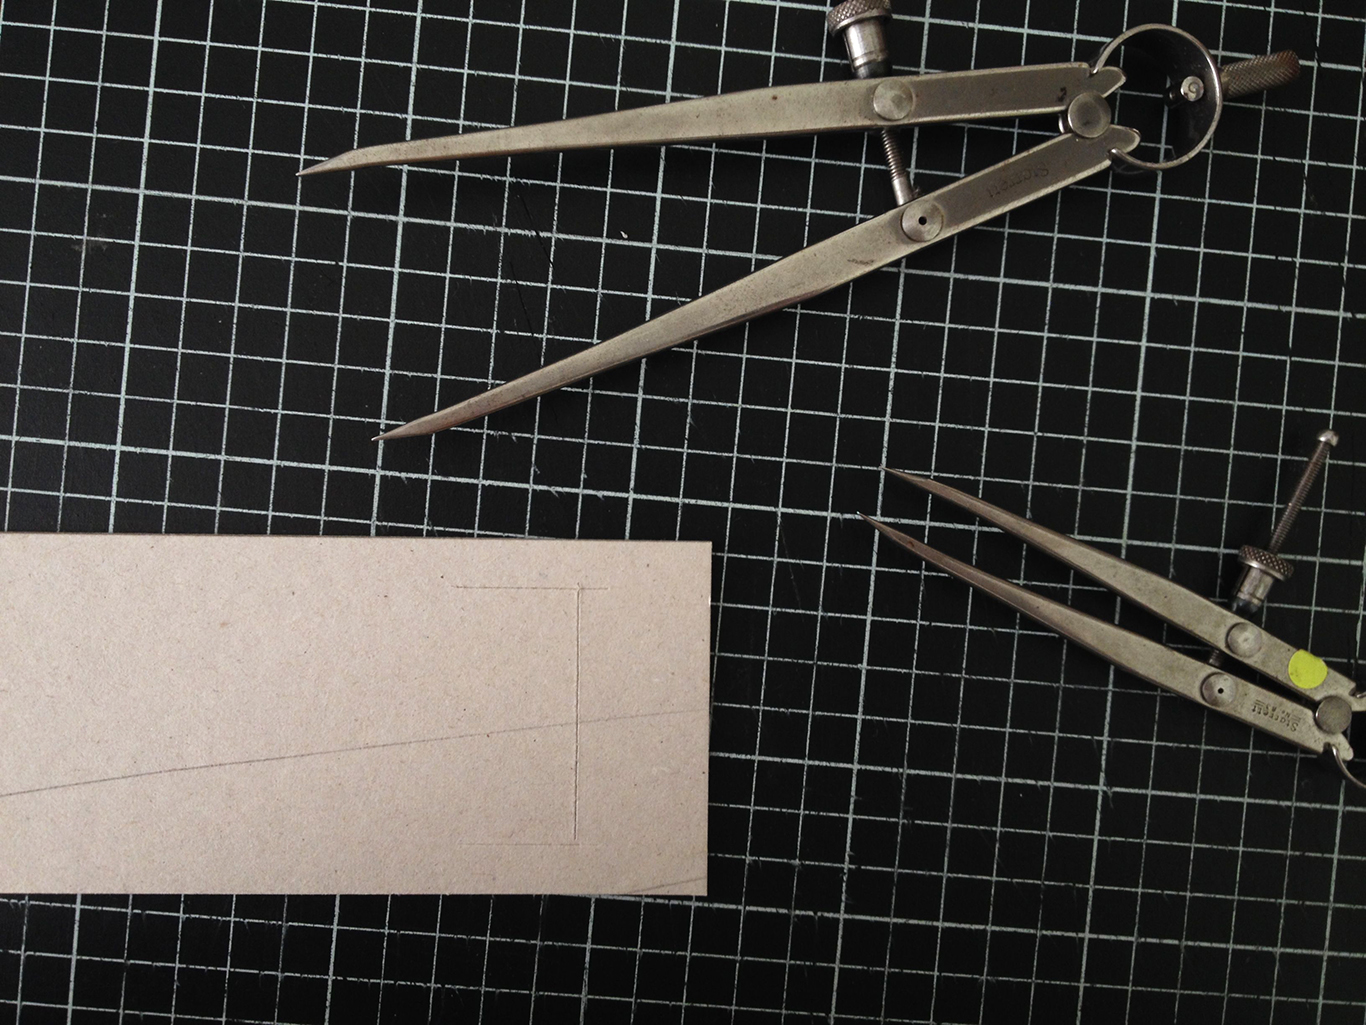
I pick up the measurements with my dividers and transfer a crisp line to my board by hooking one point of my dividers against the board edge and scoring with the other point. If you are living in a post-apocalyptic nightmare and do not have a set of dividers, you can use a scrap of paper to transfer measurements to your board, or you can simply place the label where you want it and trace around it.
Sometimes, when I am feeling decadent, I use two sets of dividers.
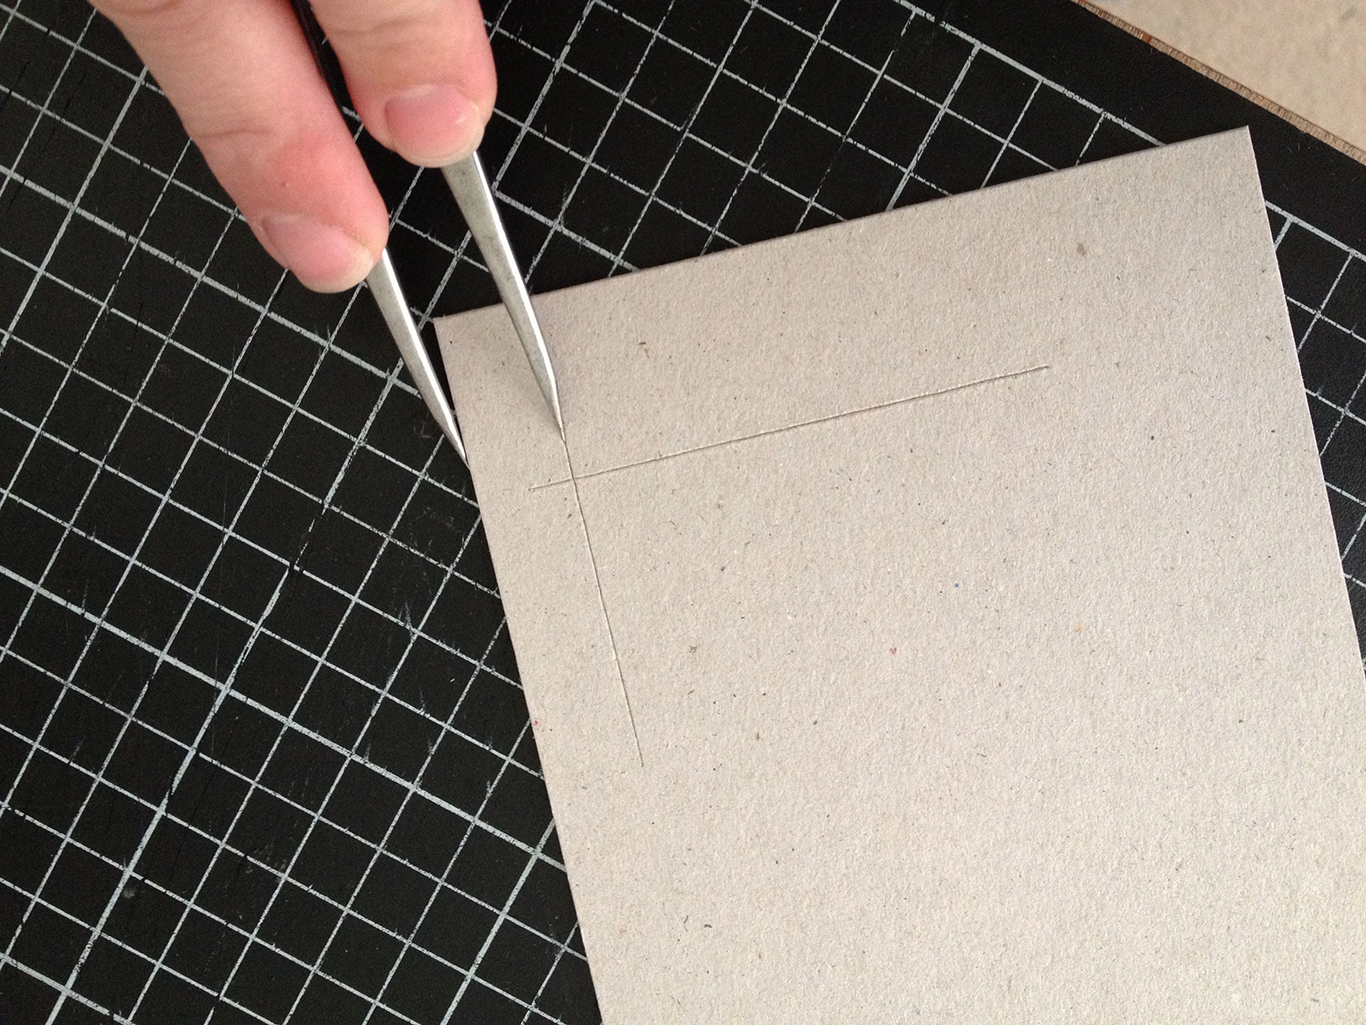
Once you have your inset area marked on the board, cut around the perimeter and make an “x” inside with your knife. Do not cut too deeply into your board. An inset label should feel flush with the book cloth or very slightly depressed. You do not want to set your label so deeply into your board that someone could trip and fall into it. That is a safety hazard and could lead to a lawsuit.

Deboss a layer of your board by picking away the triangles you have created with your knife.
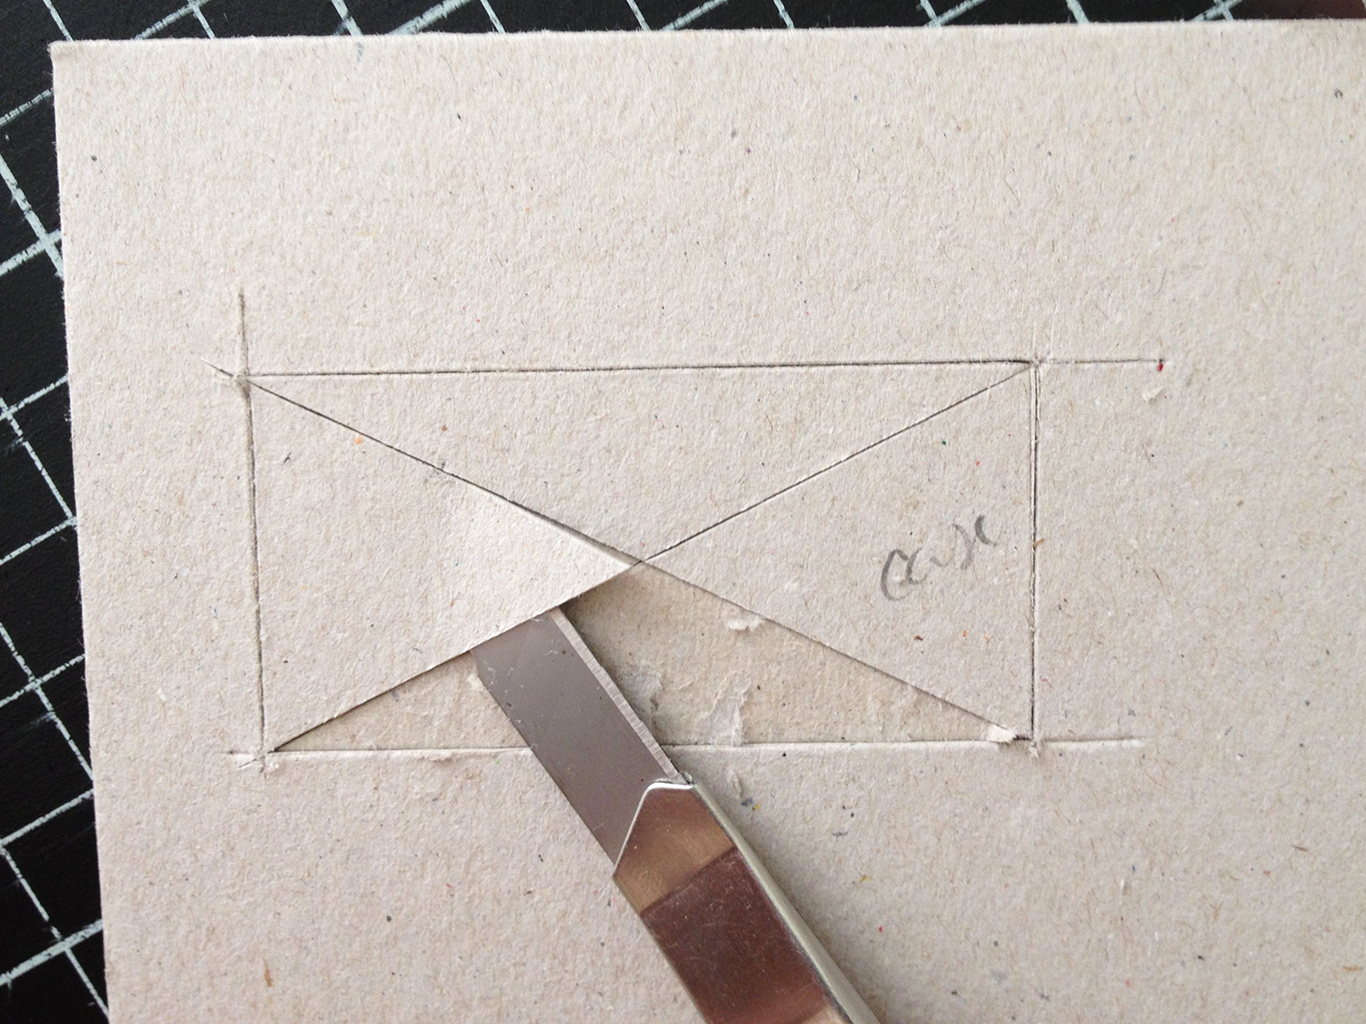
Again, do not remove too much material. Take care to take out an even amount of board and then go over the delaminated area with your bone or Teflon folder. If it is very lumpy, your label will also look very lumpy, and lumpy labels are super embarrassing. If you accidentally take out too much board, cover the area with some cardstock to bring the label up to the right height. You can also do this on purpose to avoid embarrassing lumpiness.

Check to make sure everything fits the way it should. If it is the wrong size, fix it or discard the board and try again.

Repeat as necessary.

When covering, glue out the board and work the book cloth into the recessed area first, making sure that there is good contact between the inset area and the cloth before moving on to the rest of the board. A Teflon folder is helpful at moments like these thanks to its flat edge.

When you’ve finished covering, adhere the label with PVA. Make sure to use a minimal amount, you do not want any adhesive to squeeze out and stain the book cloth.

Labels are not the only delamination situation I’ve got going with these boxes. I am also embedding pieces of steel into the slip cases for the magnet closures. It is important to make the transition from the board to the metal as smooth as possible. I flattened my pieces with my nipping press and tweaked them with some pliers before setting them into the board.

I take such satisfaction in the repetition of these tasks, knowing that each step, properly and carefully executed, is moving the whole project forward.


In July I will bring these boxes with me to the States where they will be united with their contents, five books of identical dimensions contemplating the idea of Shift. This project is the inaugural edition from Shift-lab, a collaborative group that includes myself, Katie Baldwin, Denise Bookwalter, Macy Chadwick, and Tricia Treacy.
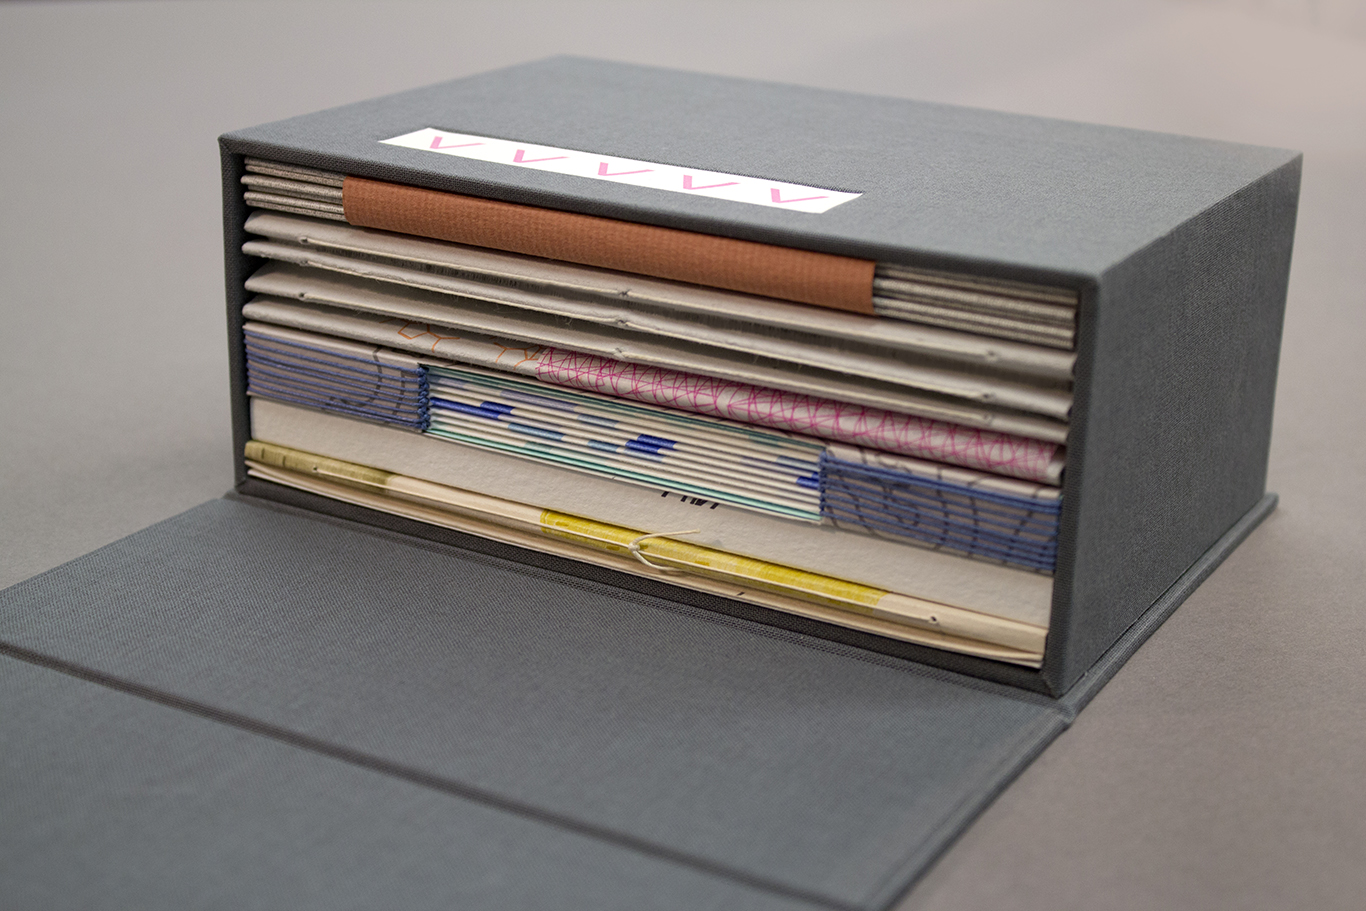
Photo thanks to Paola Hurtado
In other collaboration news, THANK YOU to all of you who have contributed to the Kickstarter campaign that I launched last week to raise money for the production of a book about population data. Dave Allen and I are overwhelmed at the amount of support we’ve received over the last few days and are pleased to say that we’ve already raised well over twice our target of $5,200!
4 comments on “Inset label, anyone?”
Leave a comment


Need a shifting song to accompany. How about “A Whole Lot of Shifting Goin’ On?”
Yes Glenn! Especially if you sing it.
Many thanks for the inset tutorial. Very helpful!
Hi Daria, I am so glad it was helpful to you! Inset labels 4eva.